Me and my partner bought a new house and it took me ages to work out how the programmable thermostat works. So for ages I was looking buying a Nest Thermostat to replace the rubbish one the builders installed. I was even getting one for myself for Christmas, but ended up buying a skateboard instead.

Totally worth it, but back to my thermostat issues. Npower offer customers the chance to buy a cheap Nest for £129 compared to the usual £199 so thats what I did.
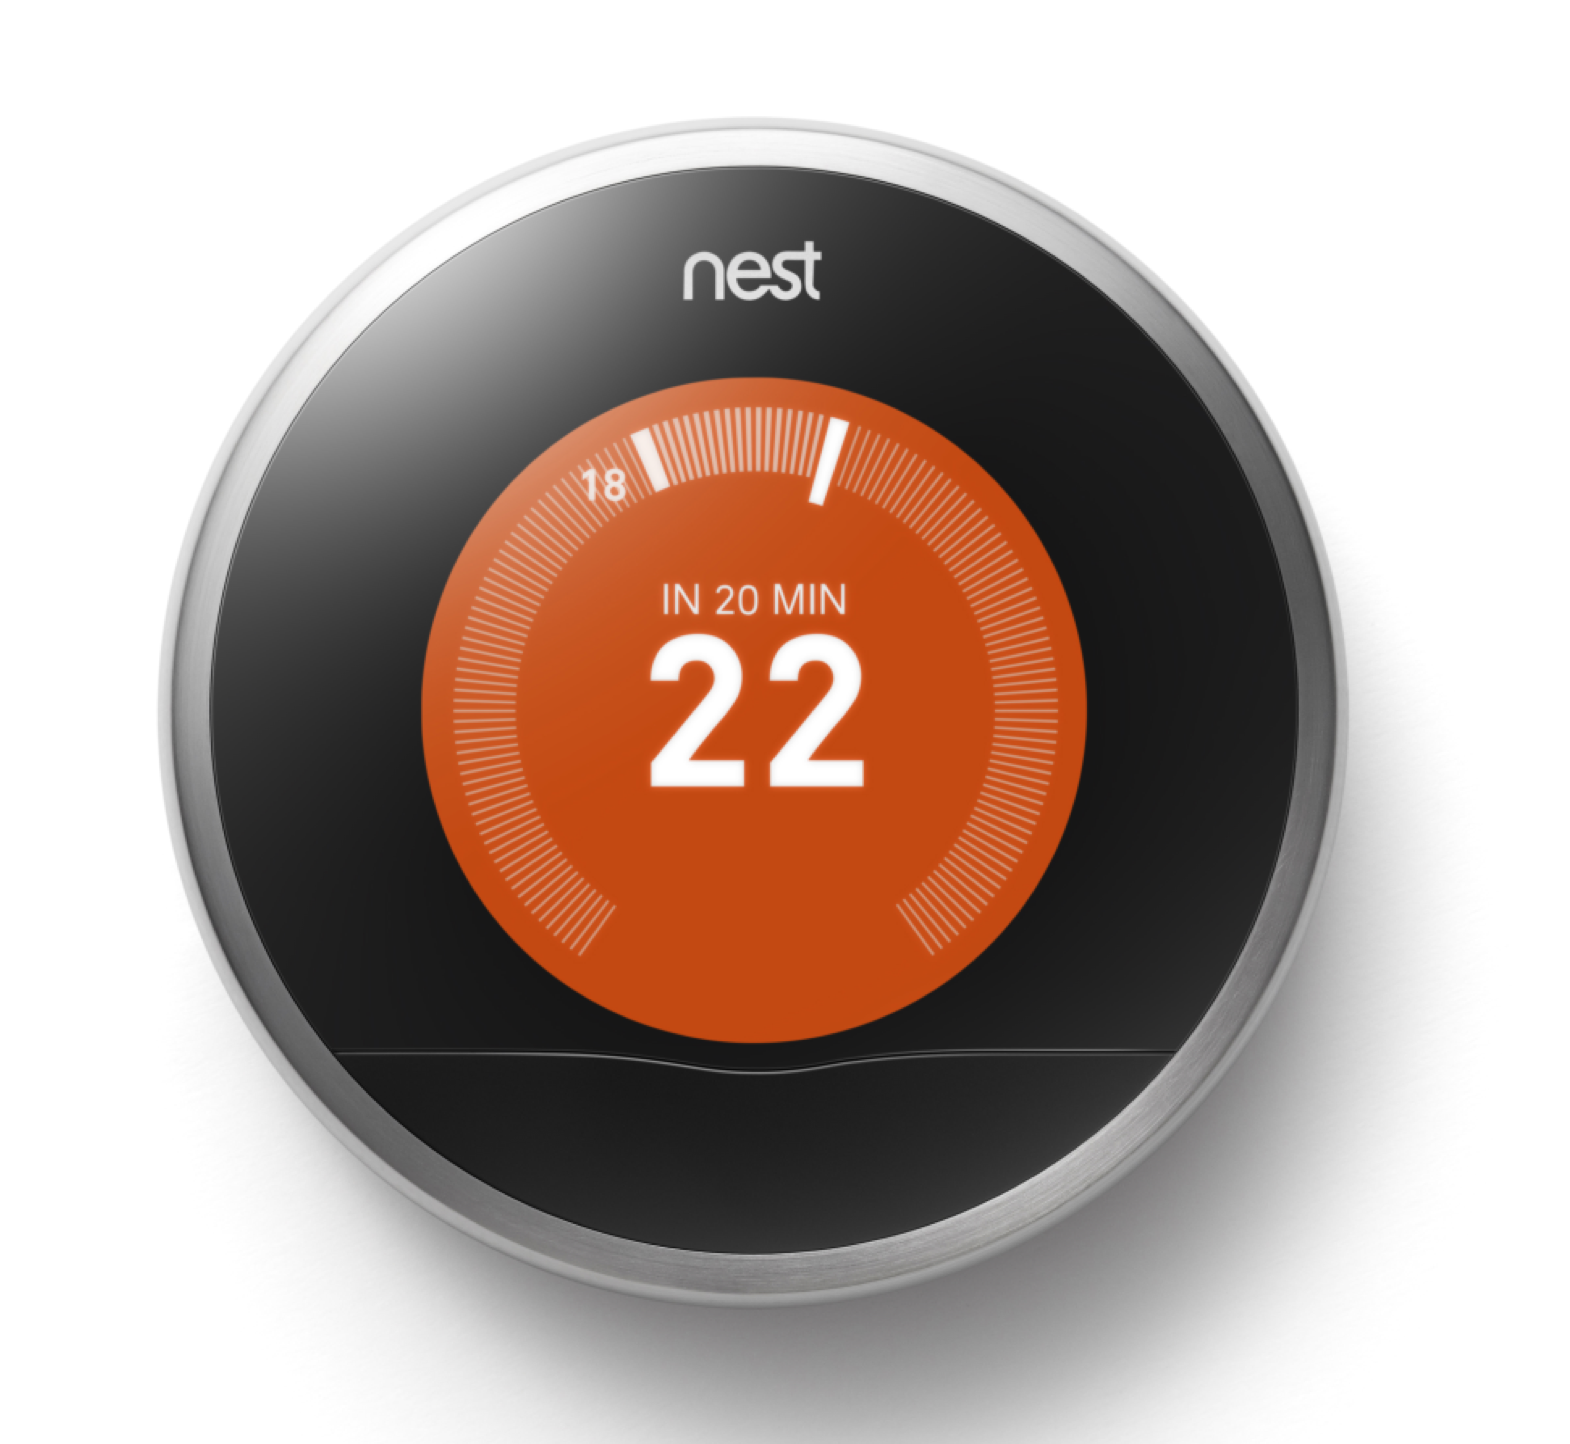
You may be asking, what is a Nest thermostat? And why is it better? There is a pretty good article covering smart thermostats with a bit on the Nest on Lifehacker. So rather than regurgitating, I suggest you click here and take a look. Essentially its a learning thermostat that can be remotely accessed plus some other things that I might write about once I’ve used if for a bit.
Installation
WARNING: Obviously it goes without saying, anything that is working with mains electrics should only be done by a competent person. This information is documentation of my personal experience and is provided without warranty. In addition, there is a disclaimer at the bottom too. I cant really say any more, be safe!
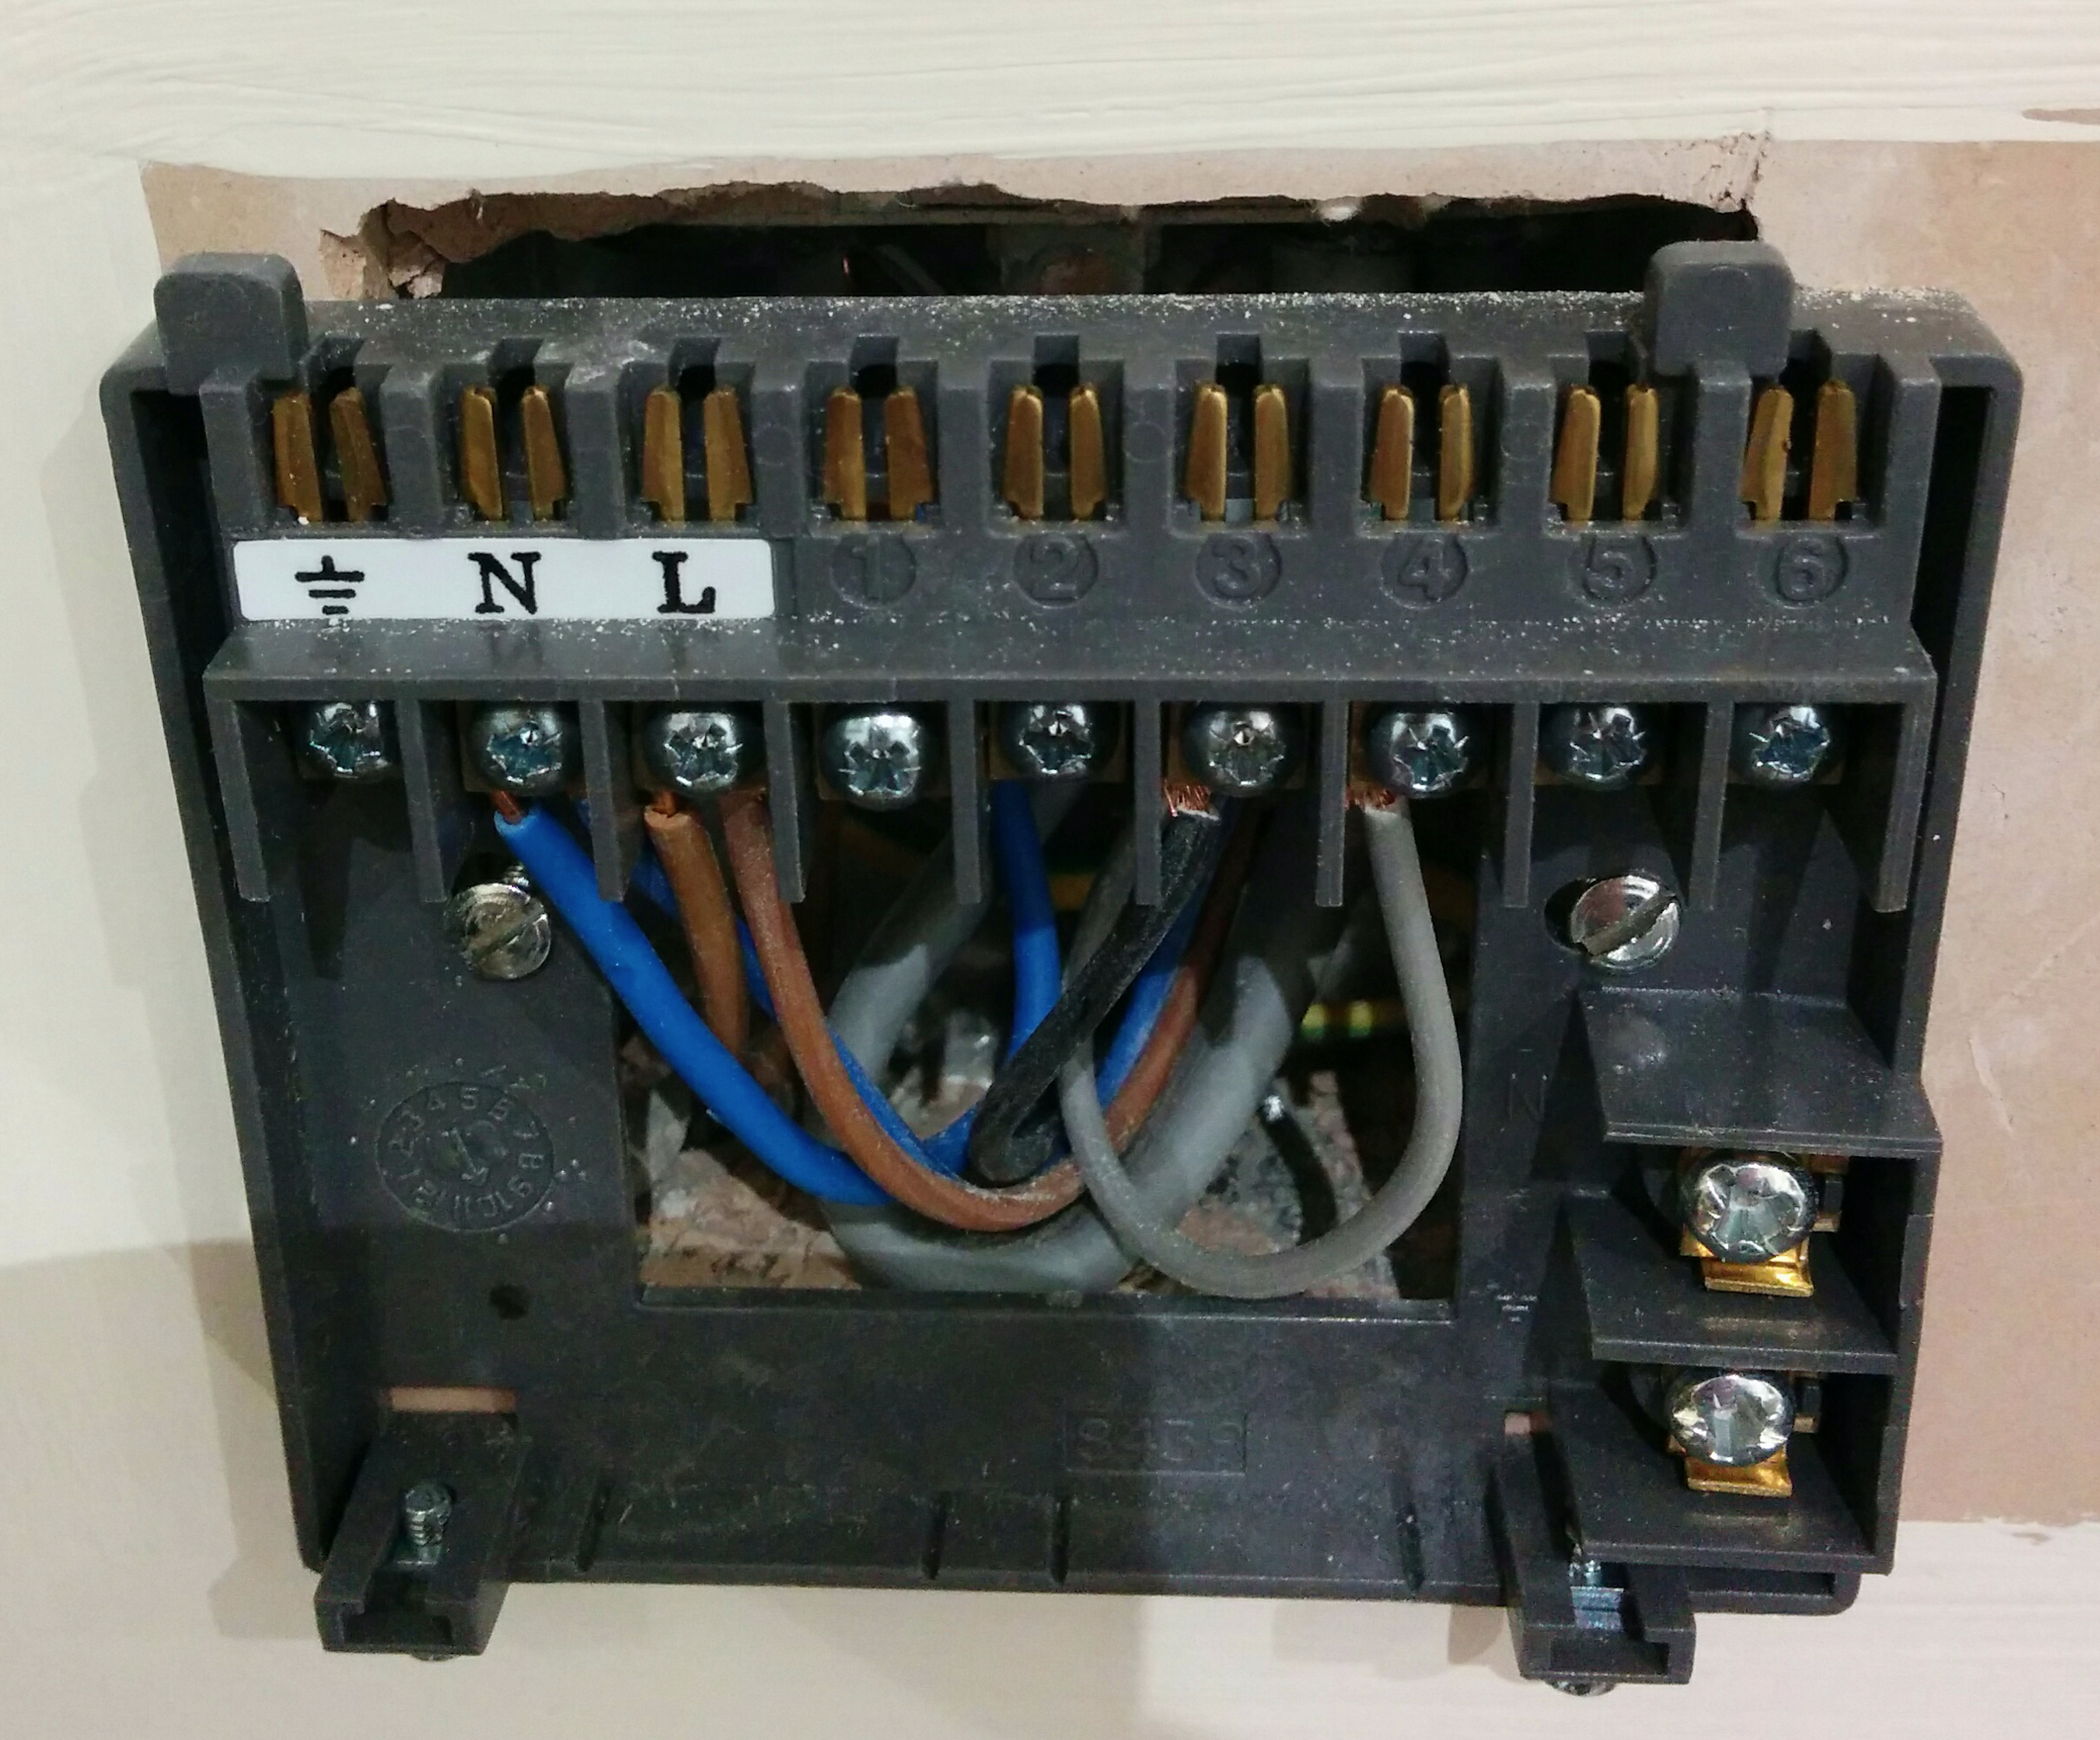
The first thing was to understand the current configuration of my system. Its a dual zone (I’m only using the Nest for the main zone) and hot water all heated by the boiler.
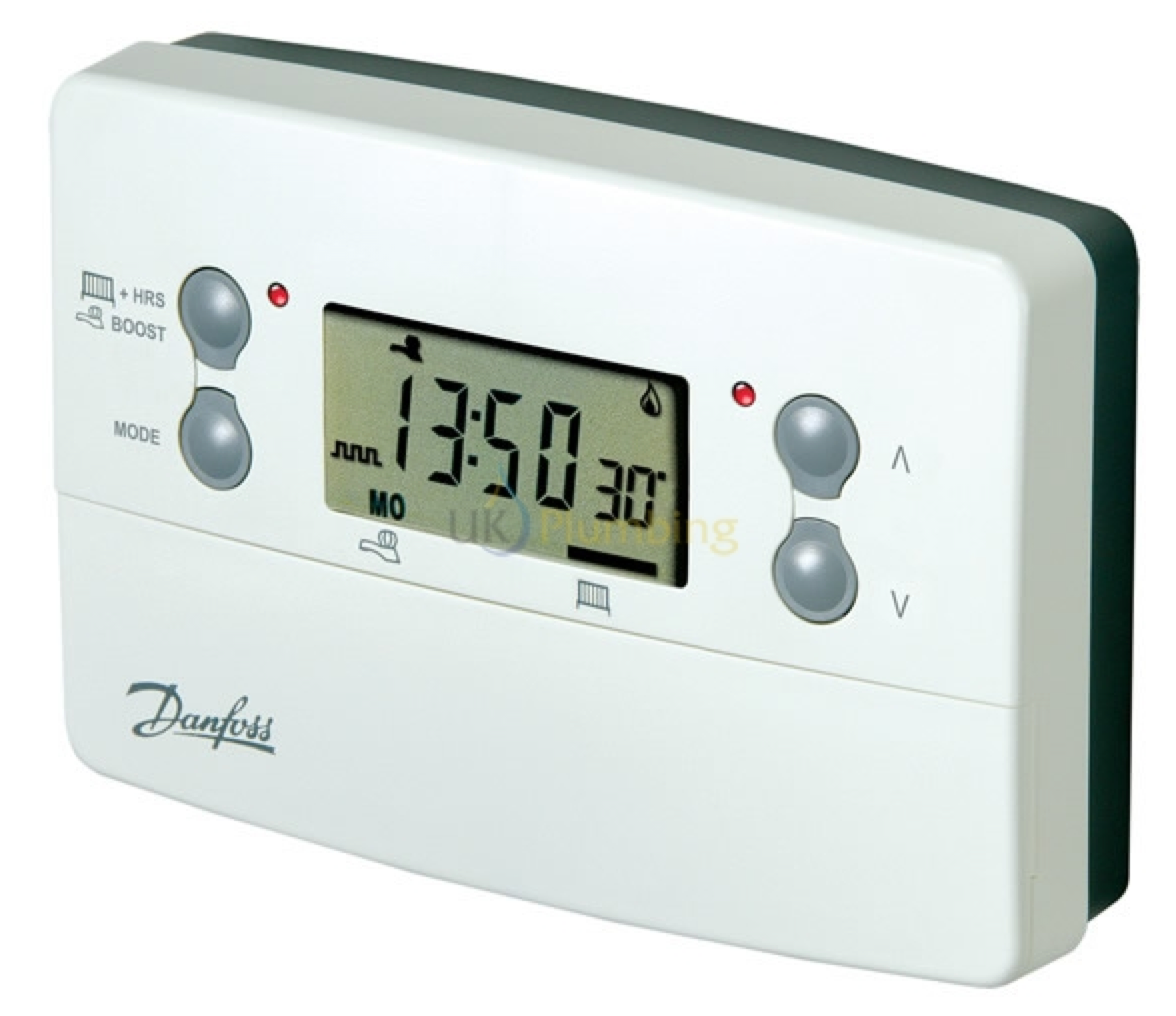
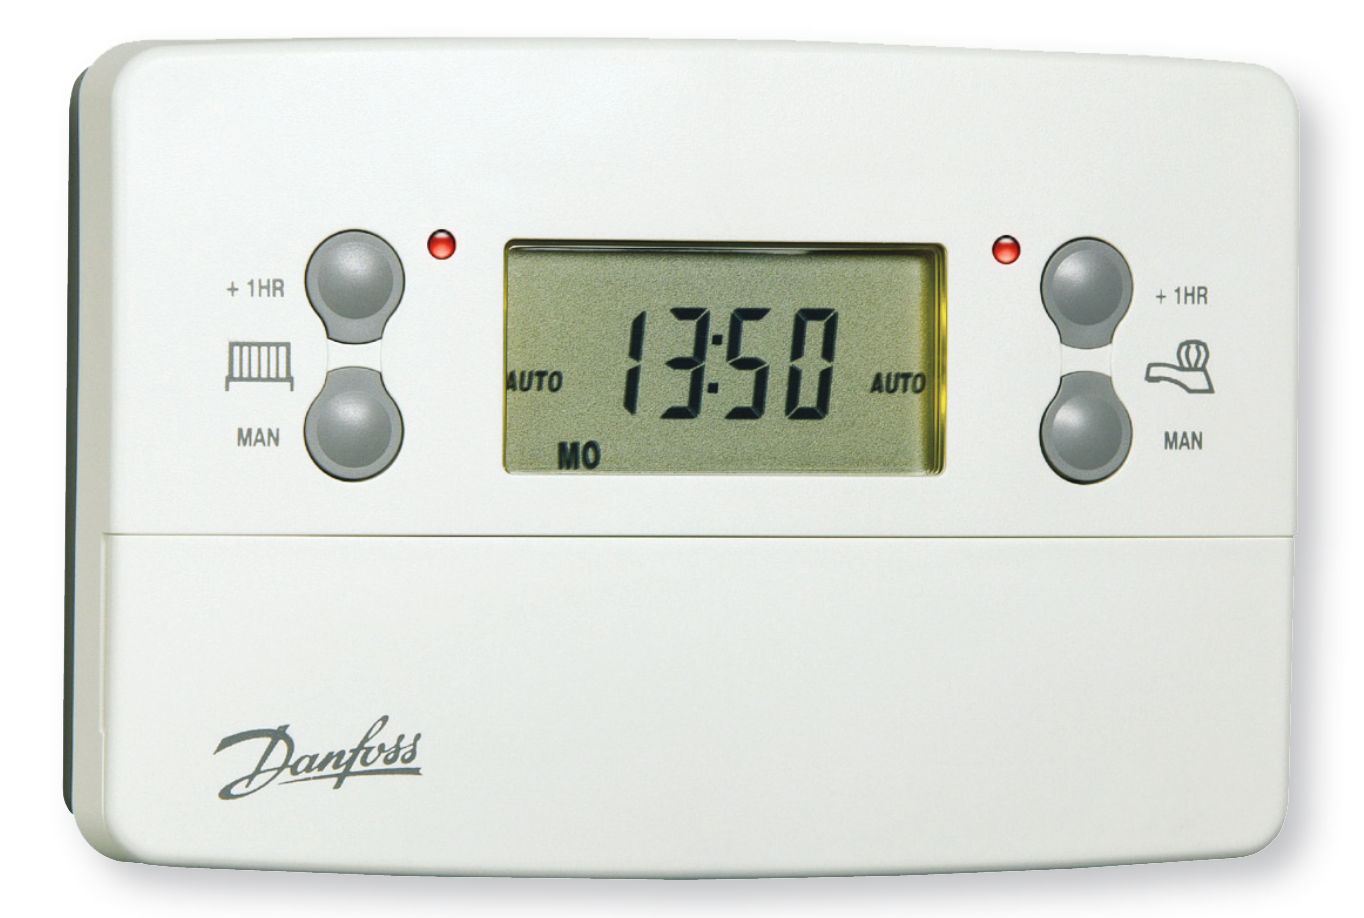
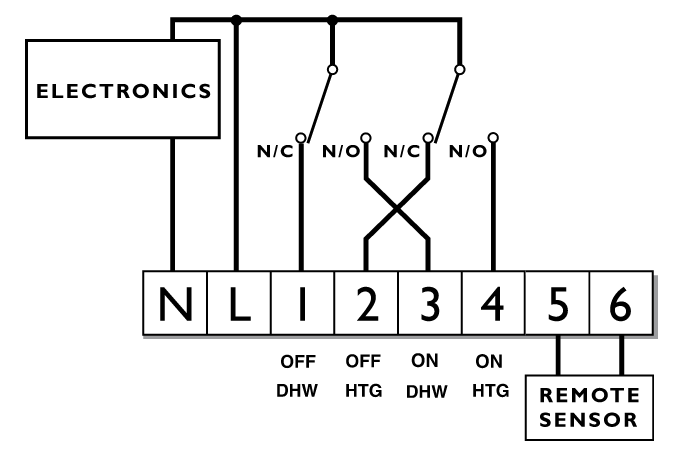
It is a Danfoss TP9000 thermostat and the wiring is as shown. The thermostat internally connects the L to a switches that then control the heating and water. In addition as shown in the wiring picture, I also have 2 live wires and 2 neutral wires. This is because the power comes from a switched fused spur and then goes to the boiler or maybe the junction box upstairs. Either way I know that black is to call for water and the grey is call for heating.
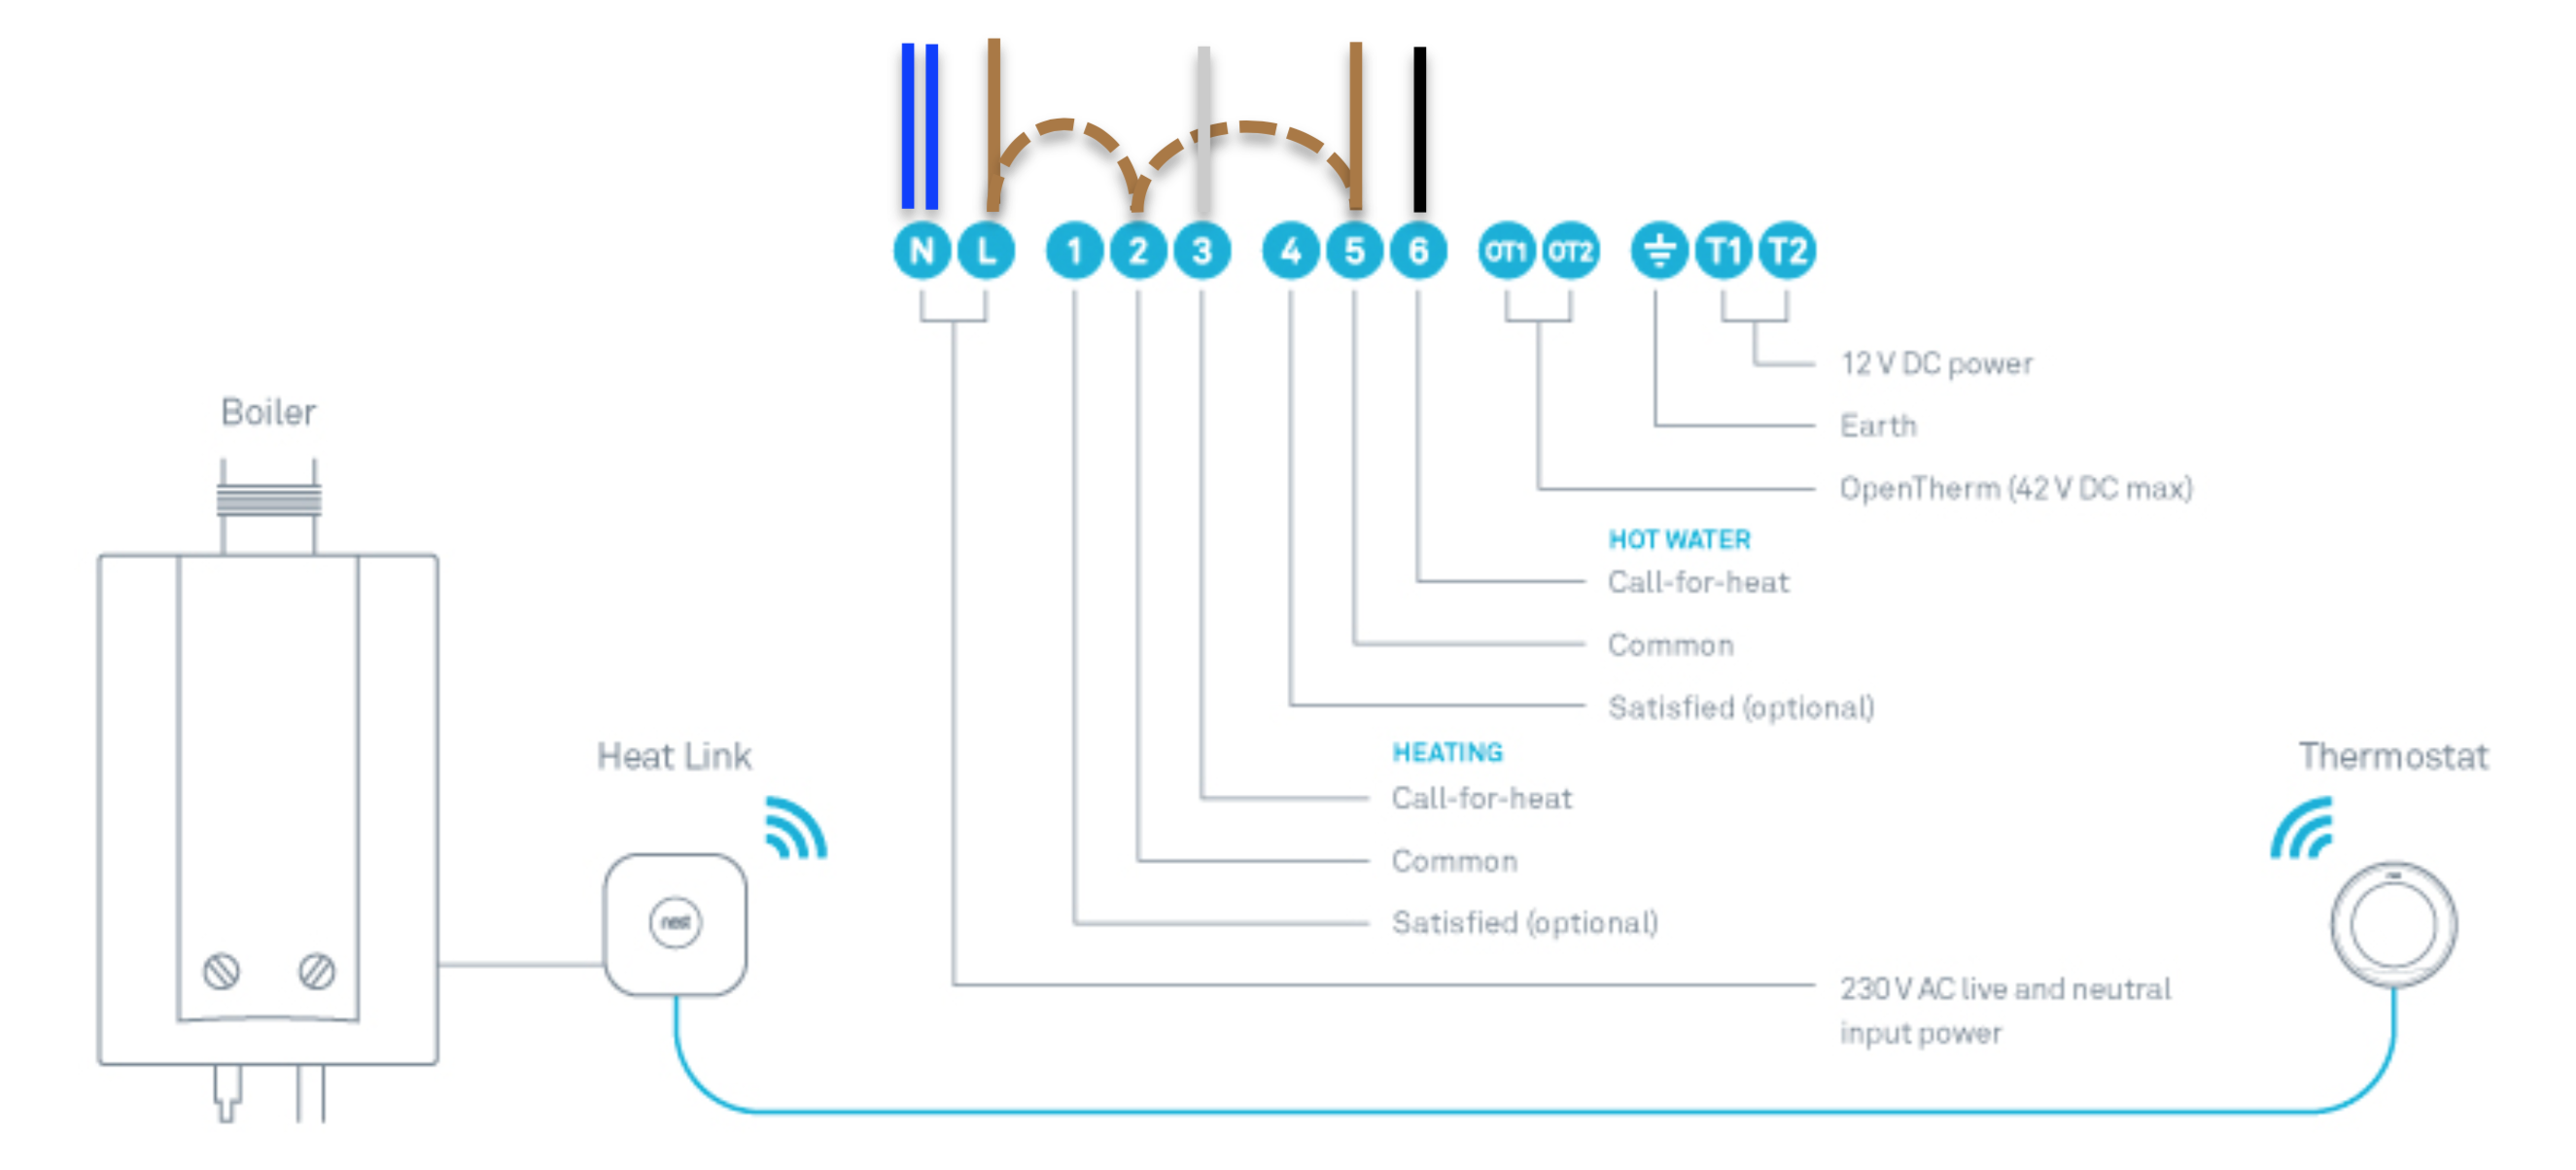
So once I had worked out how my existing system worked, I needed to translate that to how the Nest works. Page 23 of the installation guide has all of the specifications for the switching contacts. The Nest differs in that it doesn’t internally connect the live to the switch. The image below is how I wired my old cables to the new Nest, the dashed wires are the ones I needed to add.
Once I had the wires figured out, I needed to actually connect them.
Issue 1 – Cable hiding
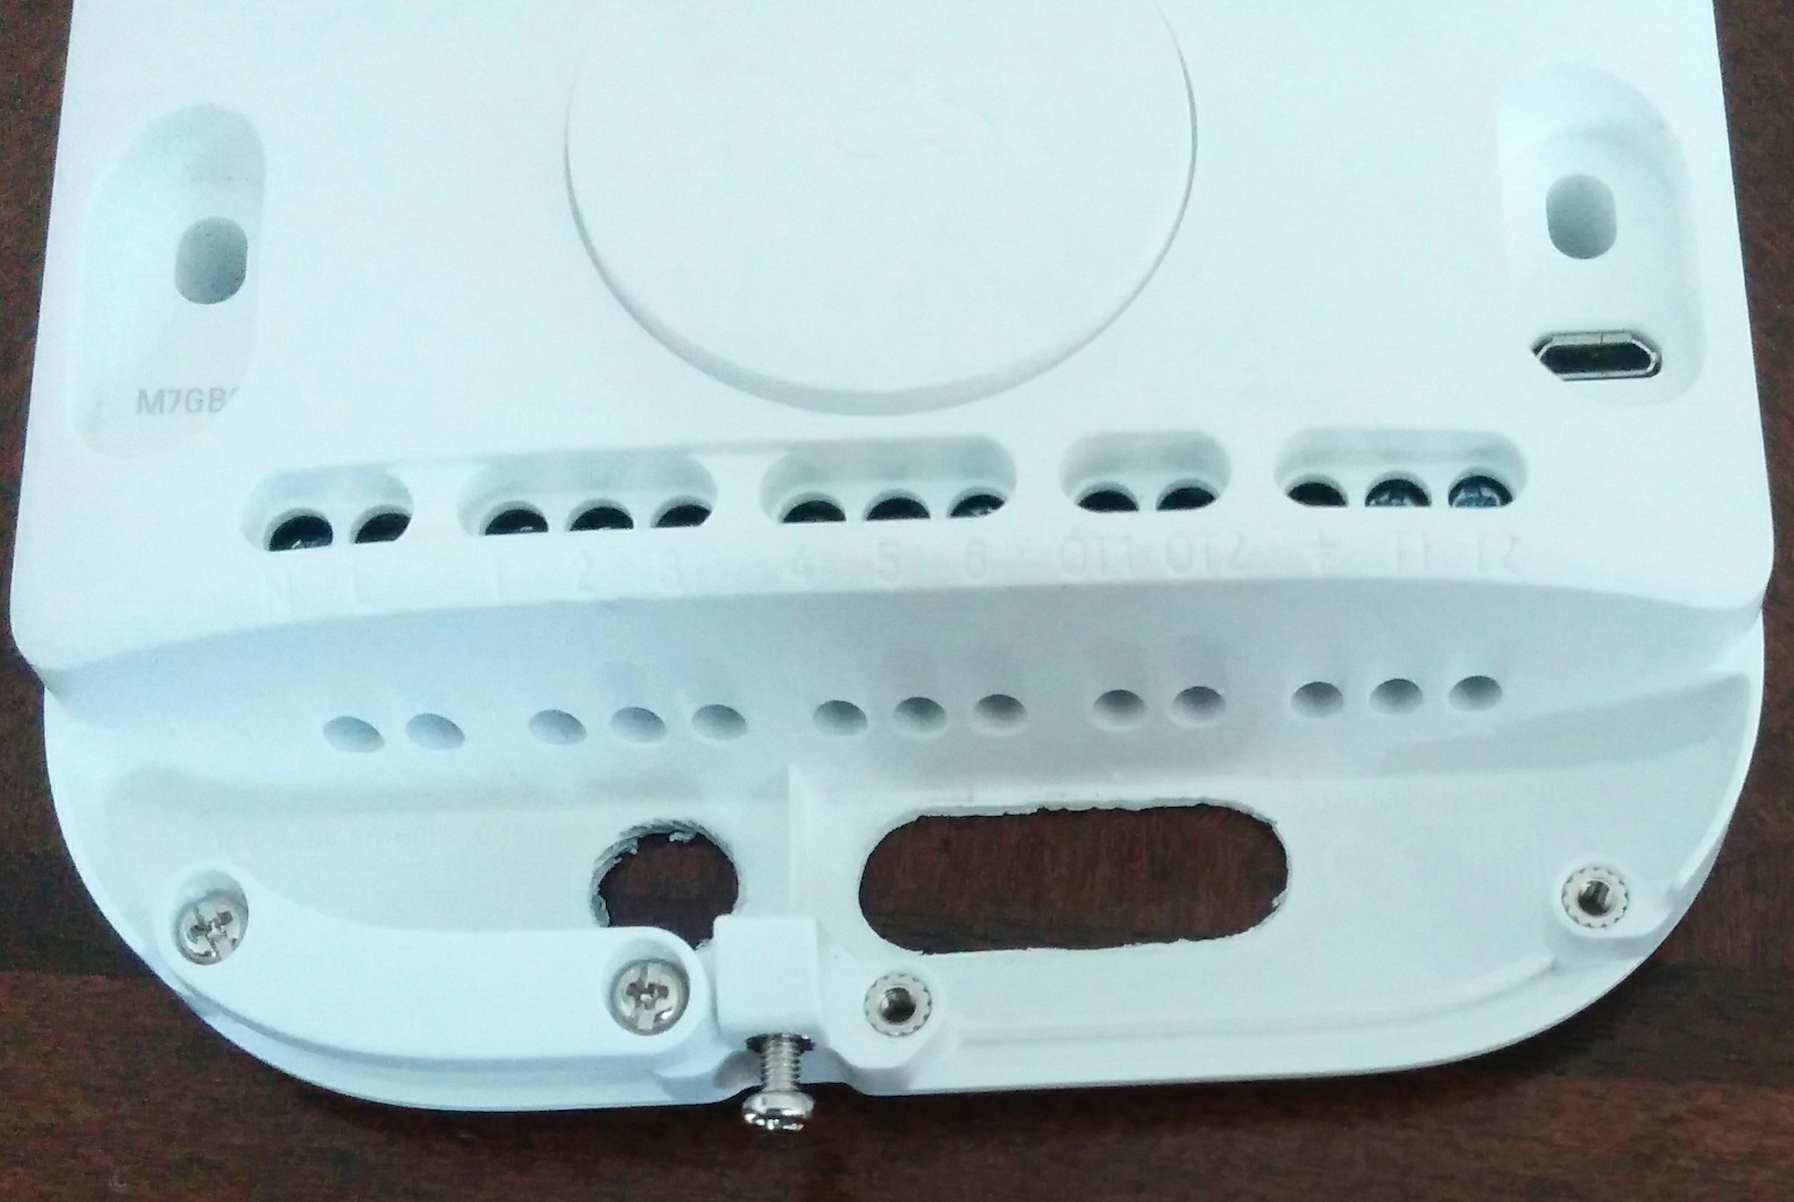
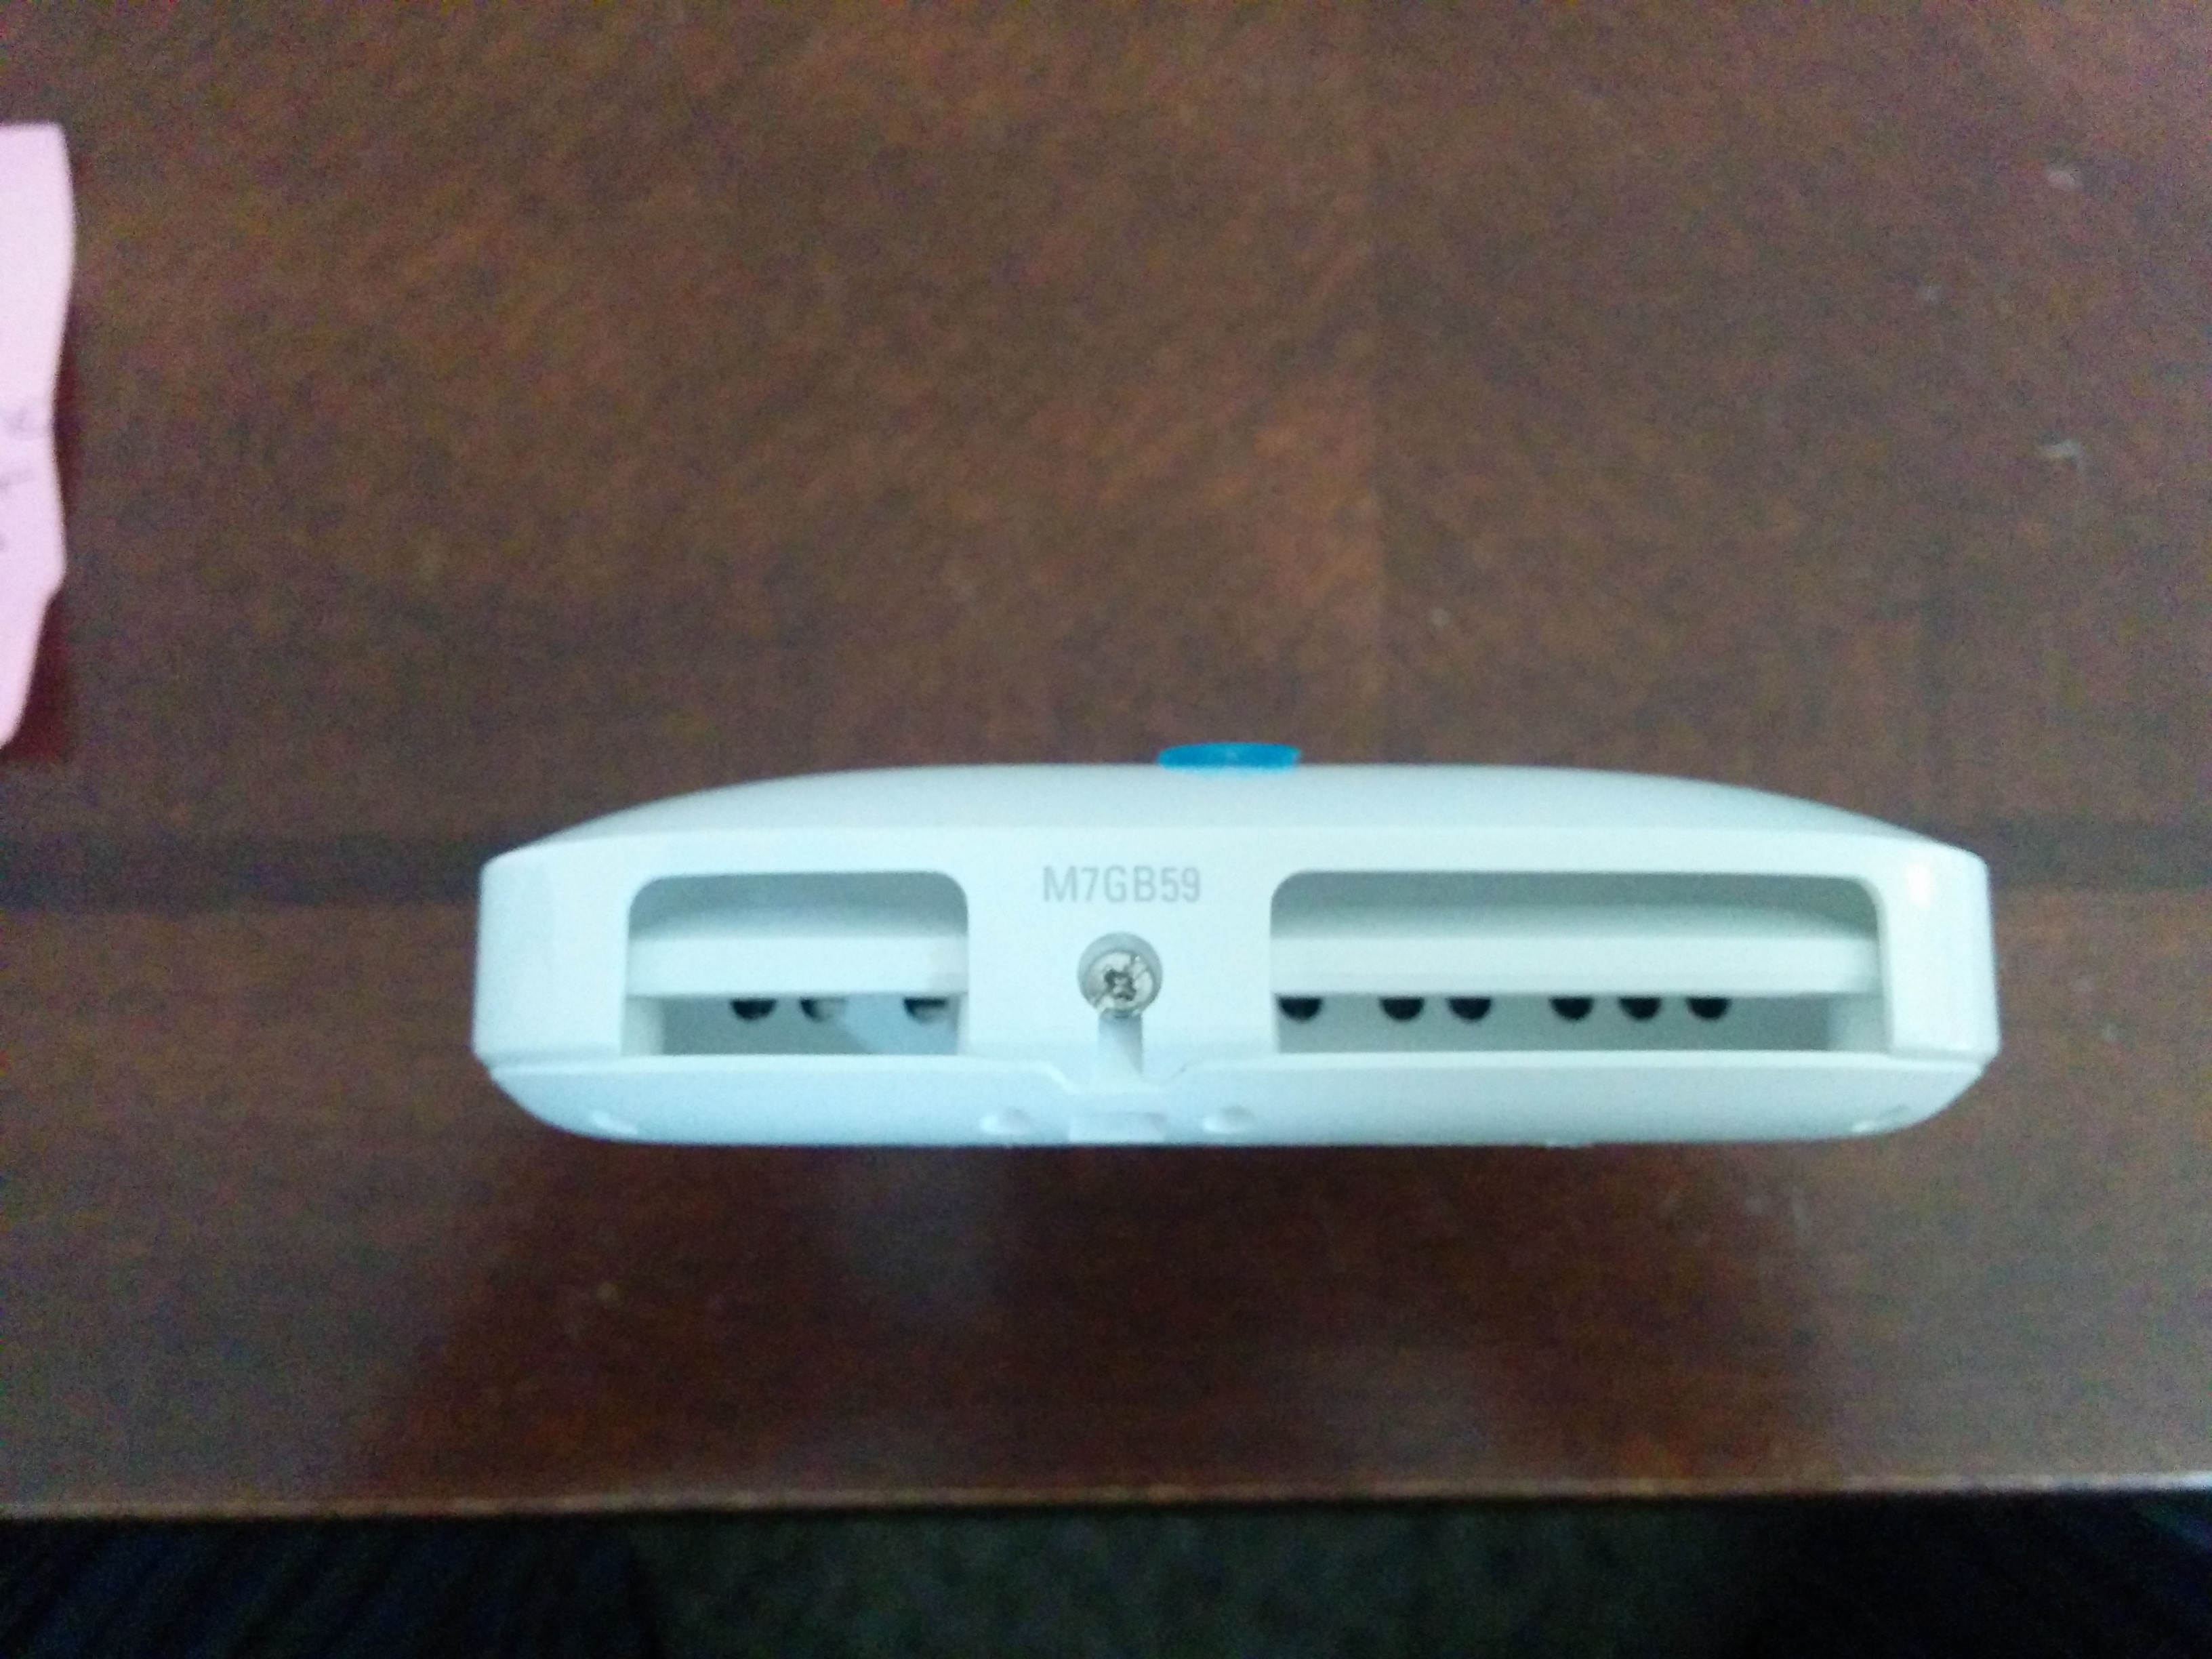
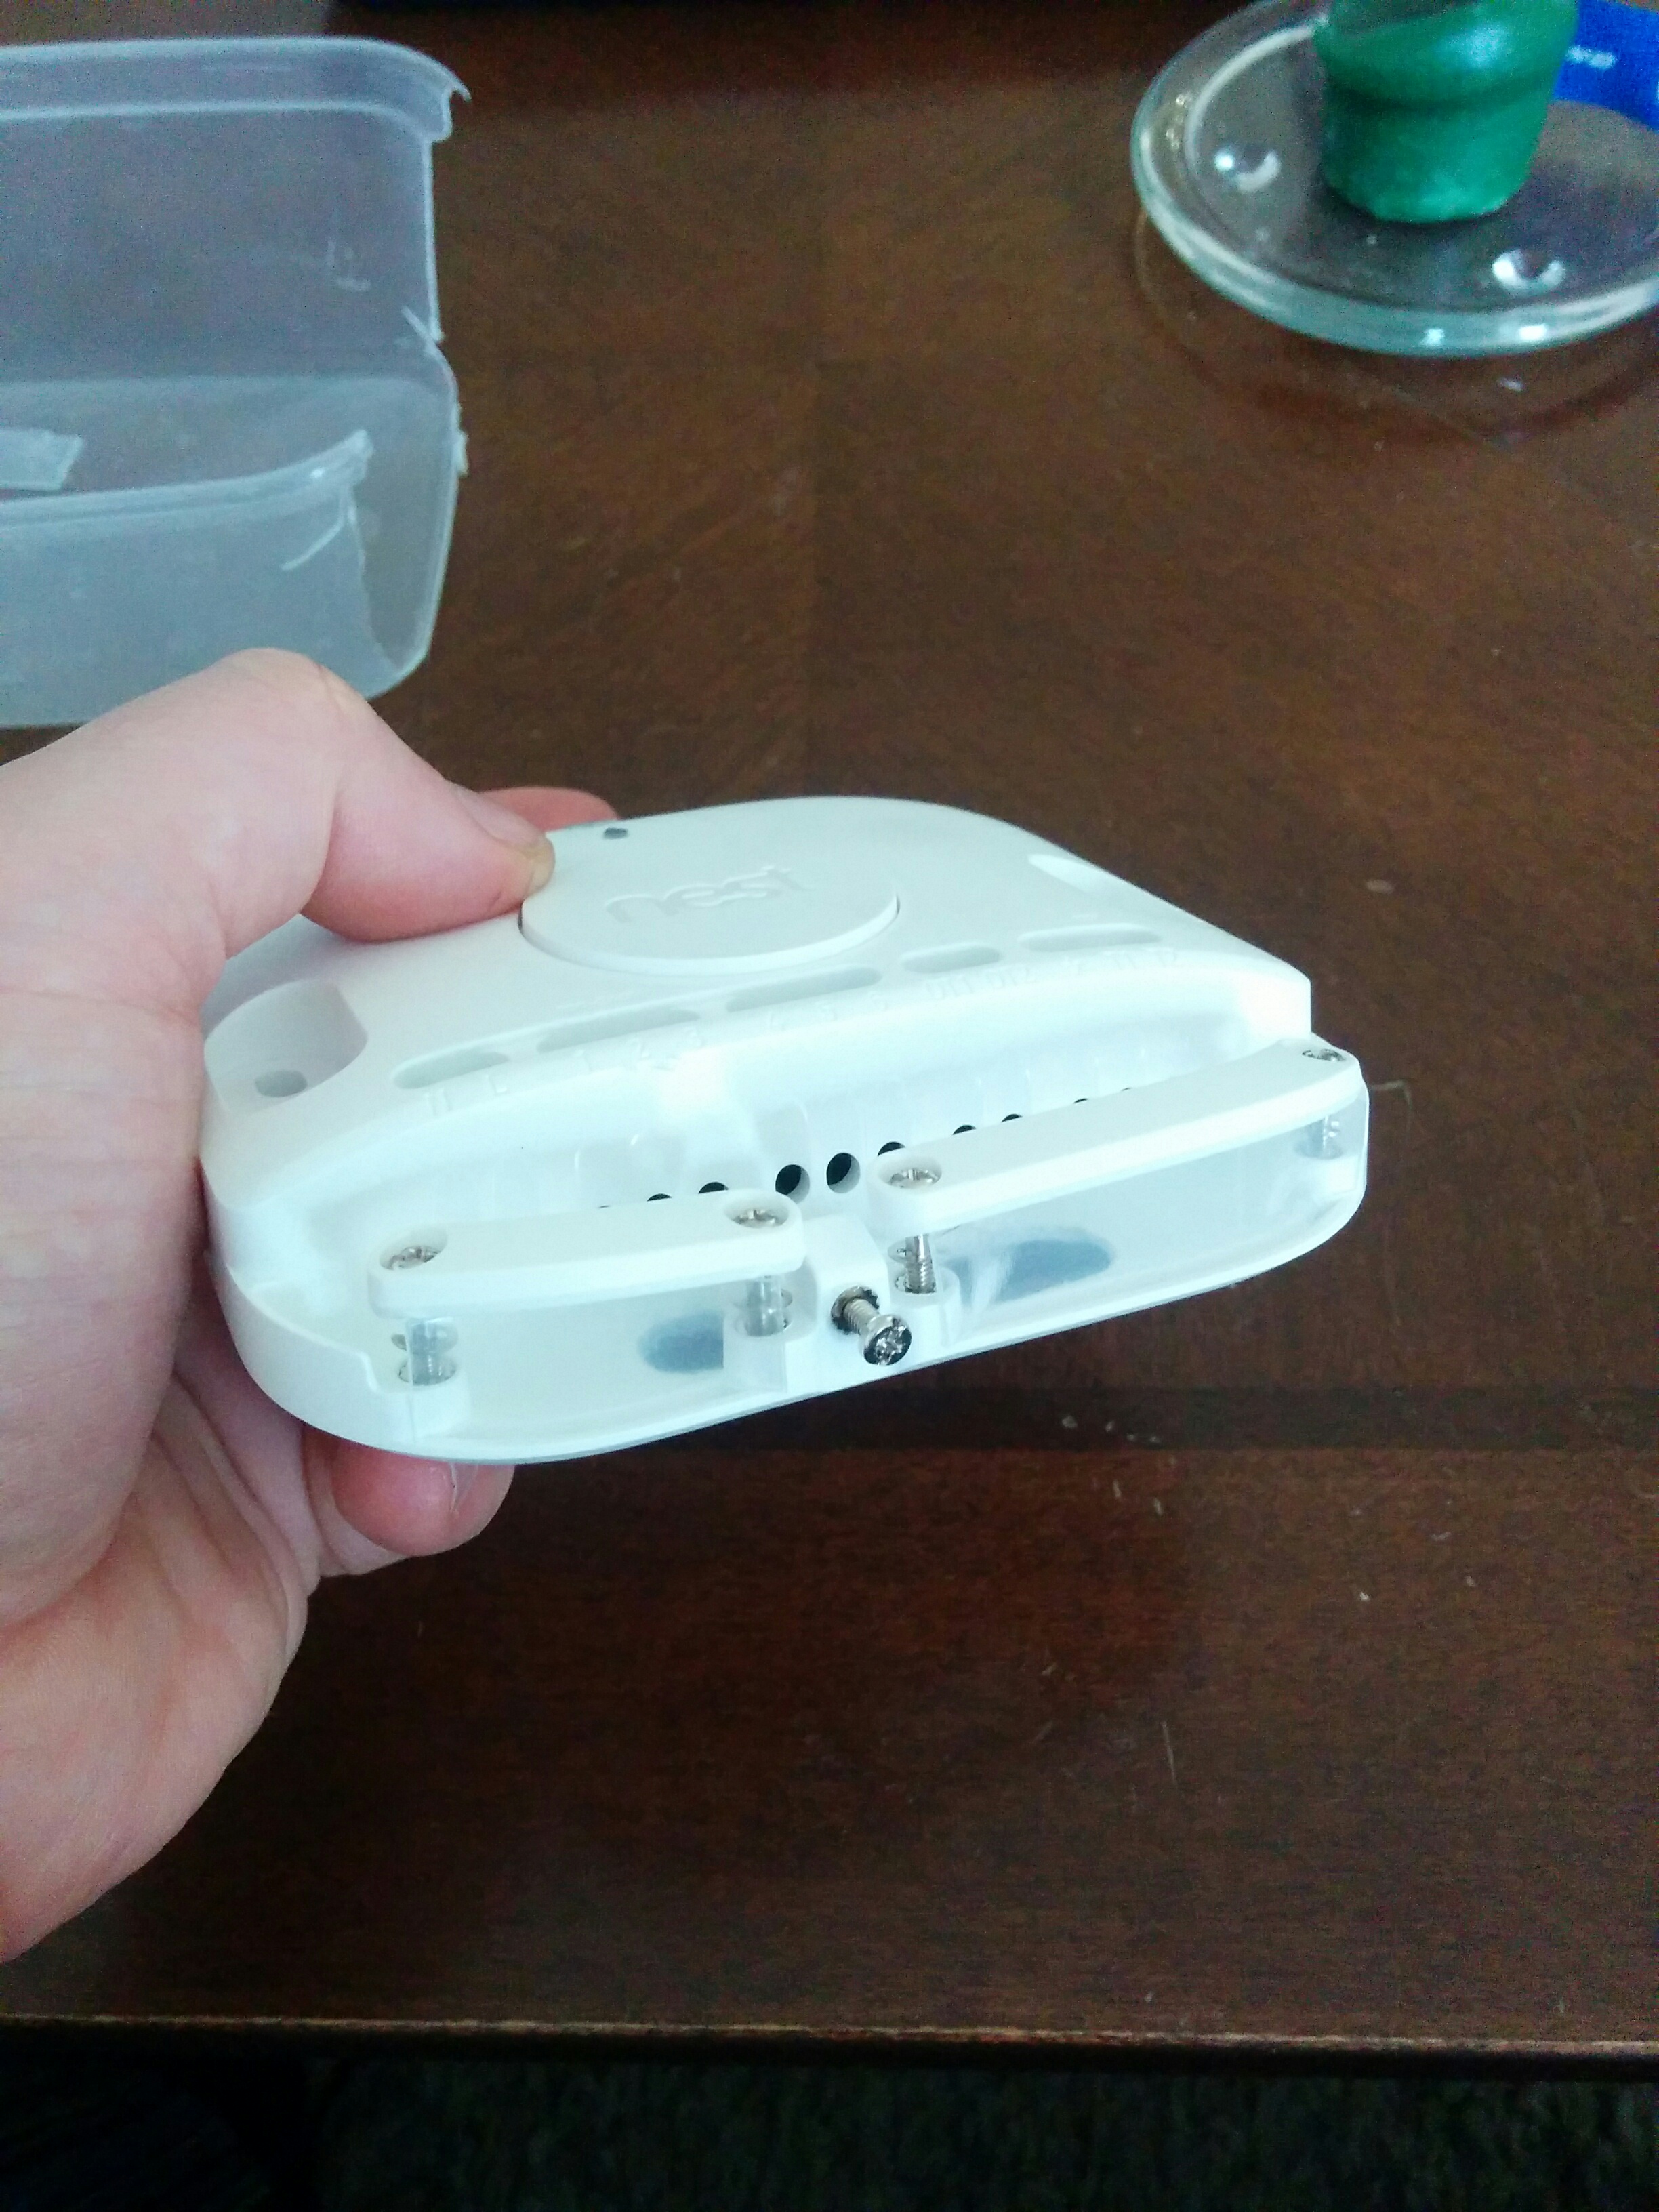
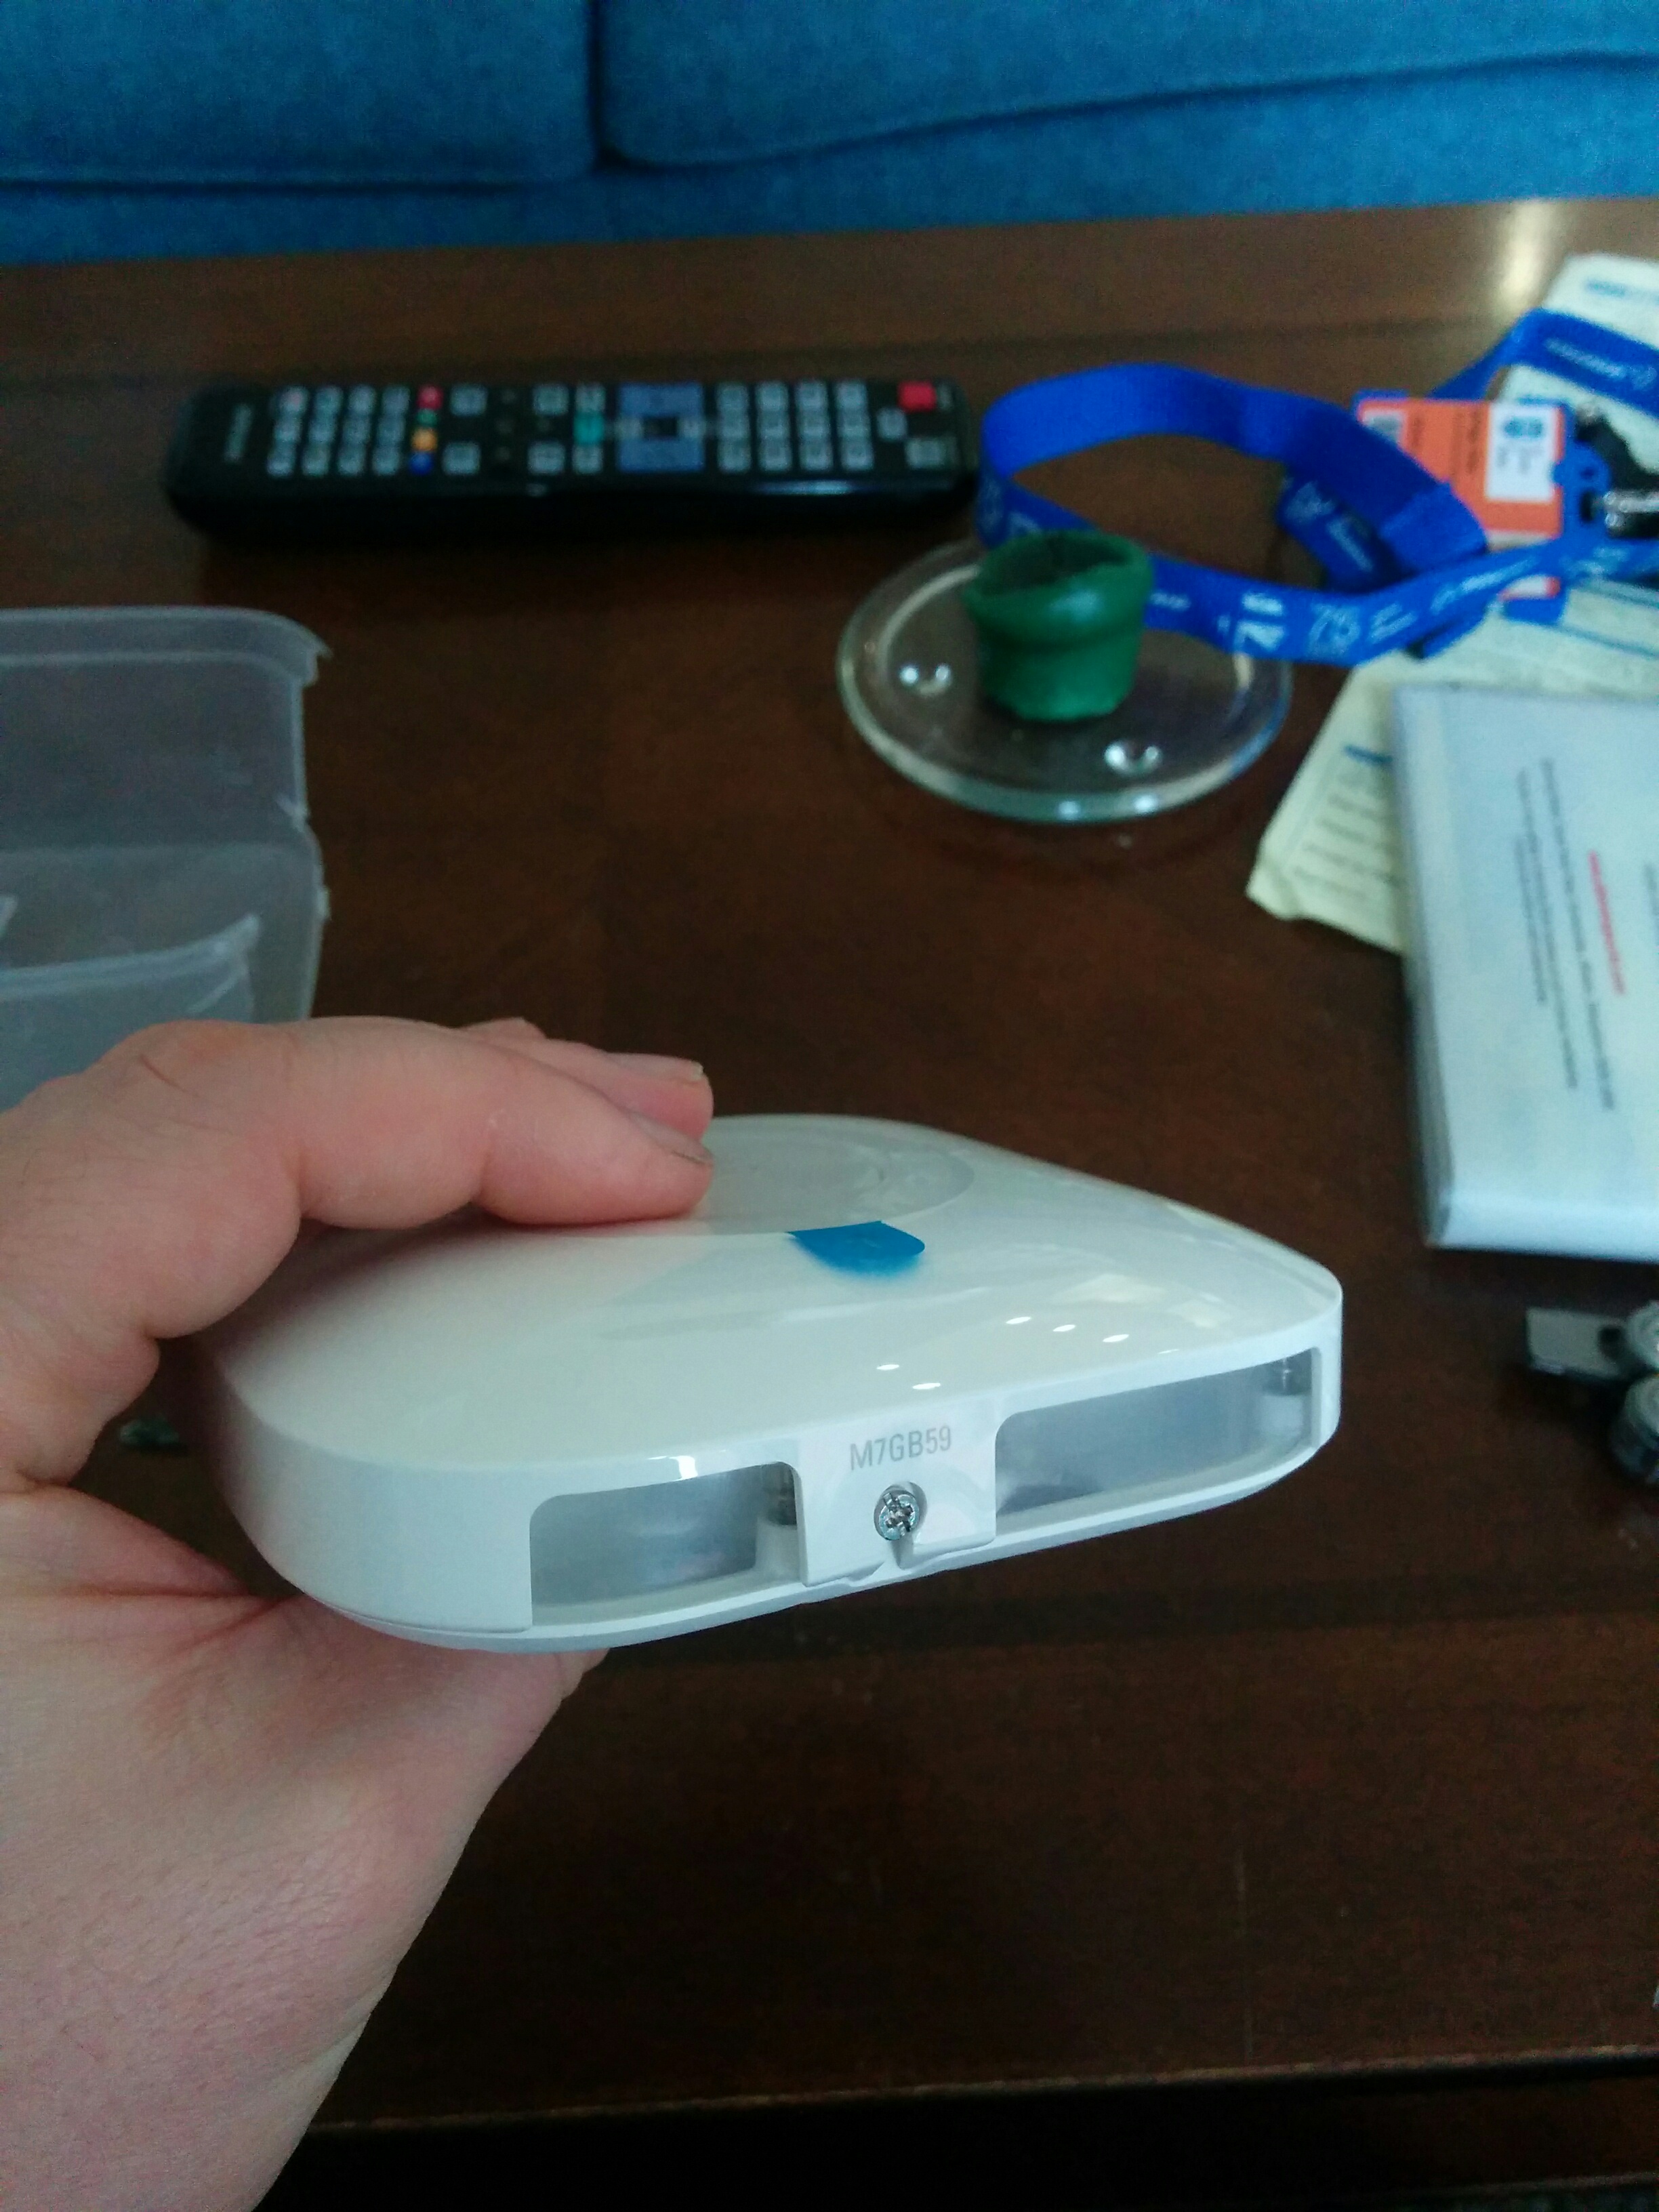
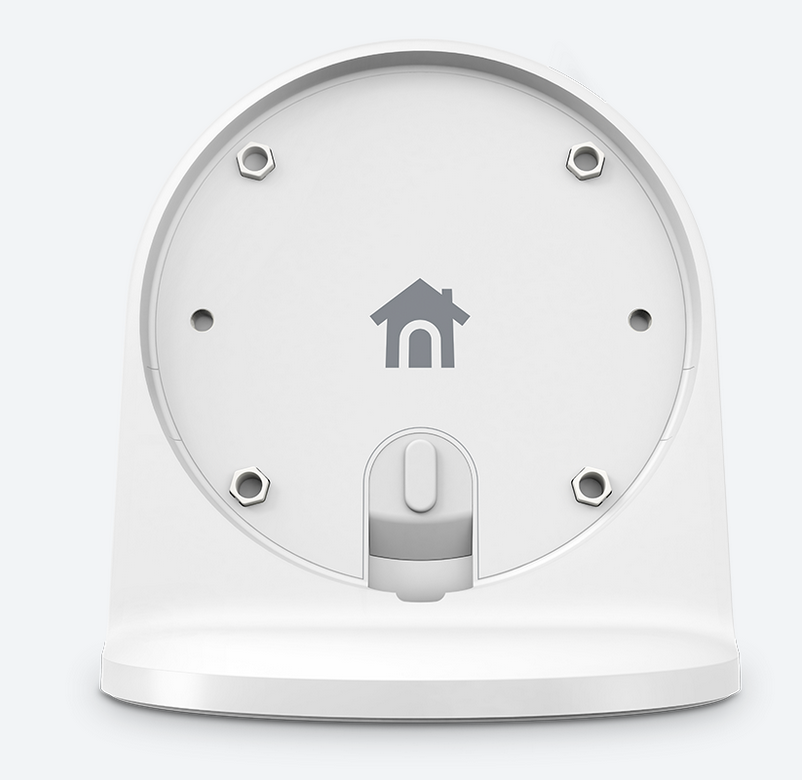
From all of the installation images, the cables are designed to come out of the bottom of the Nest. After posting on the Nest community board, someone responded with the idea to drill small 1mm holes on the back plate of the Nest within the raised circle and rounded slot. https://community.nest.com/thread/12177
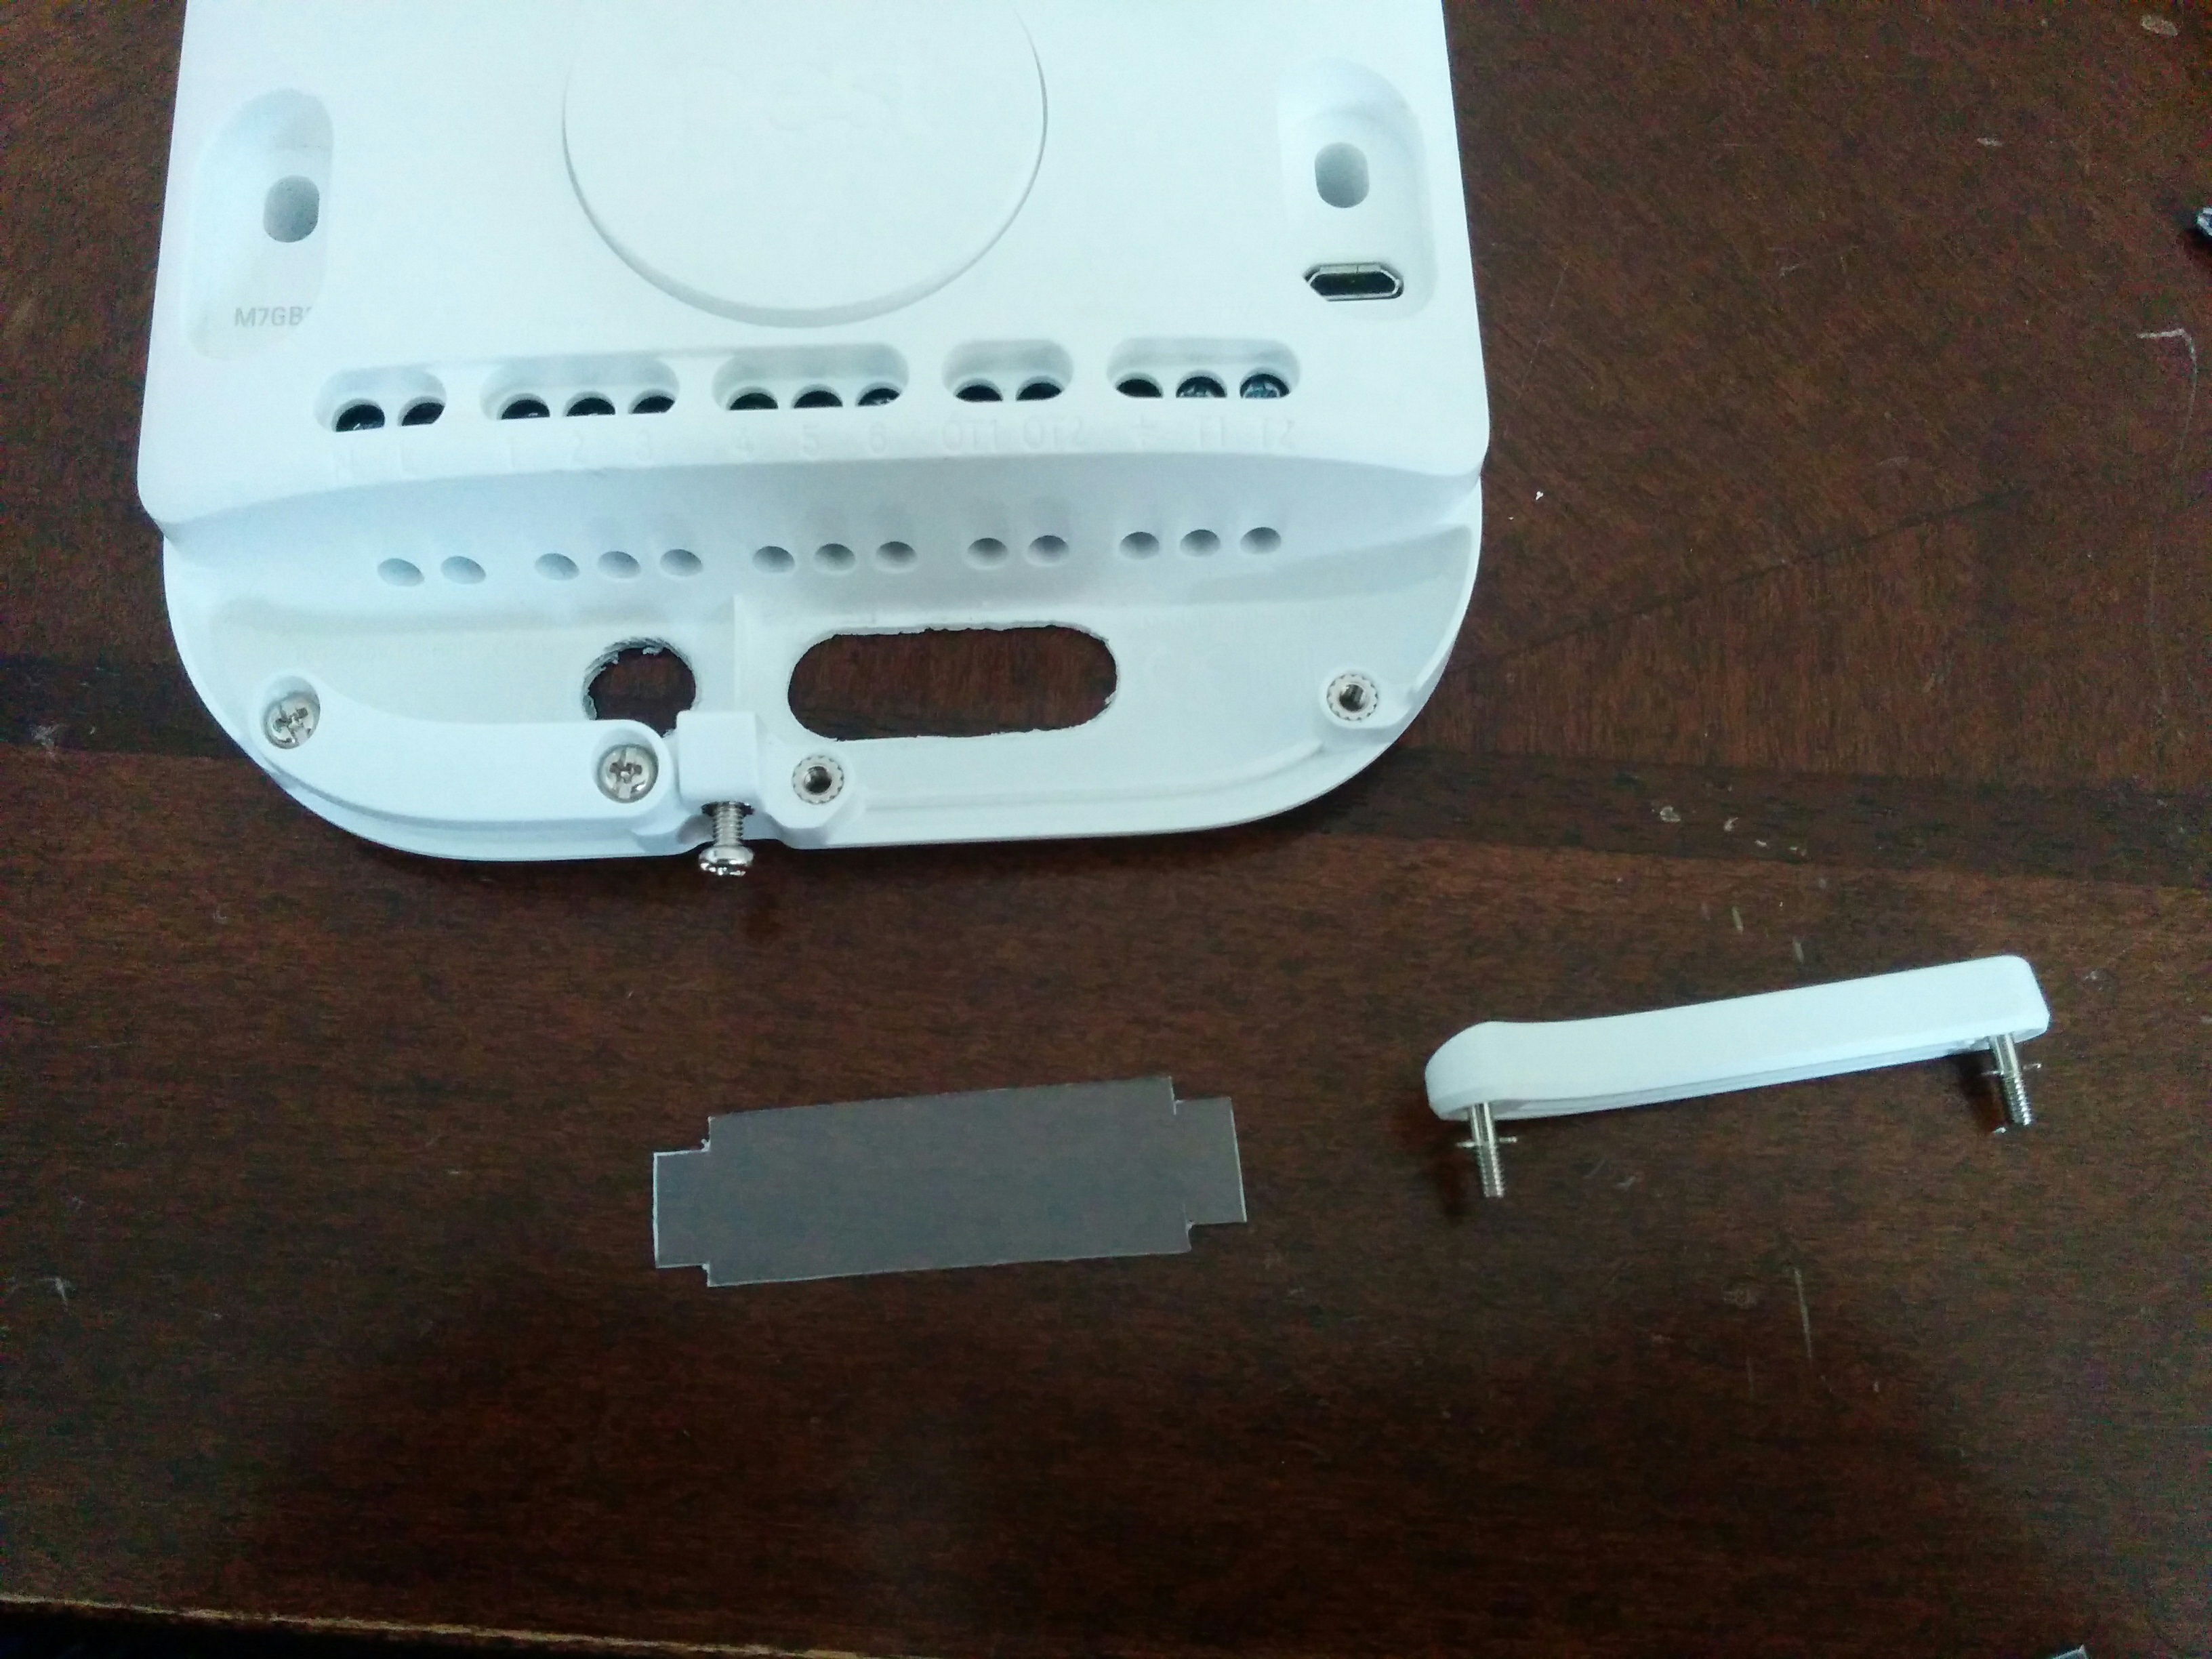
For the round hole, I just drilled it out, started 3mm, then 6mm then upto 9mm. The rounded slot I drilled lots of 1mm holes and then snapped between the holes and for both I filled them smooth.
Issue 2 – Open cables
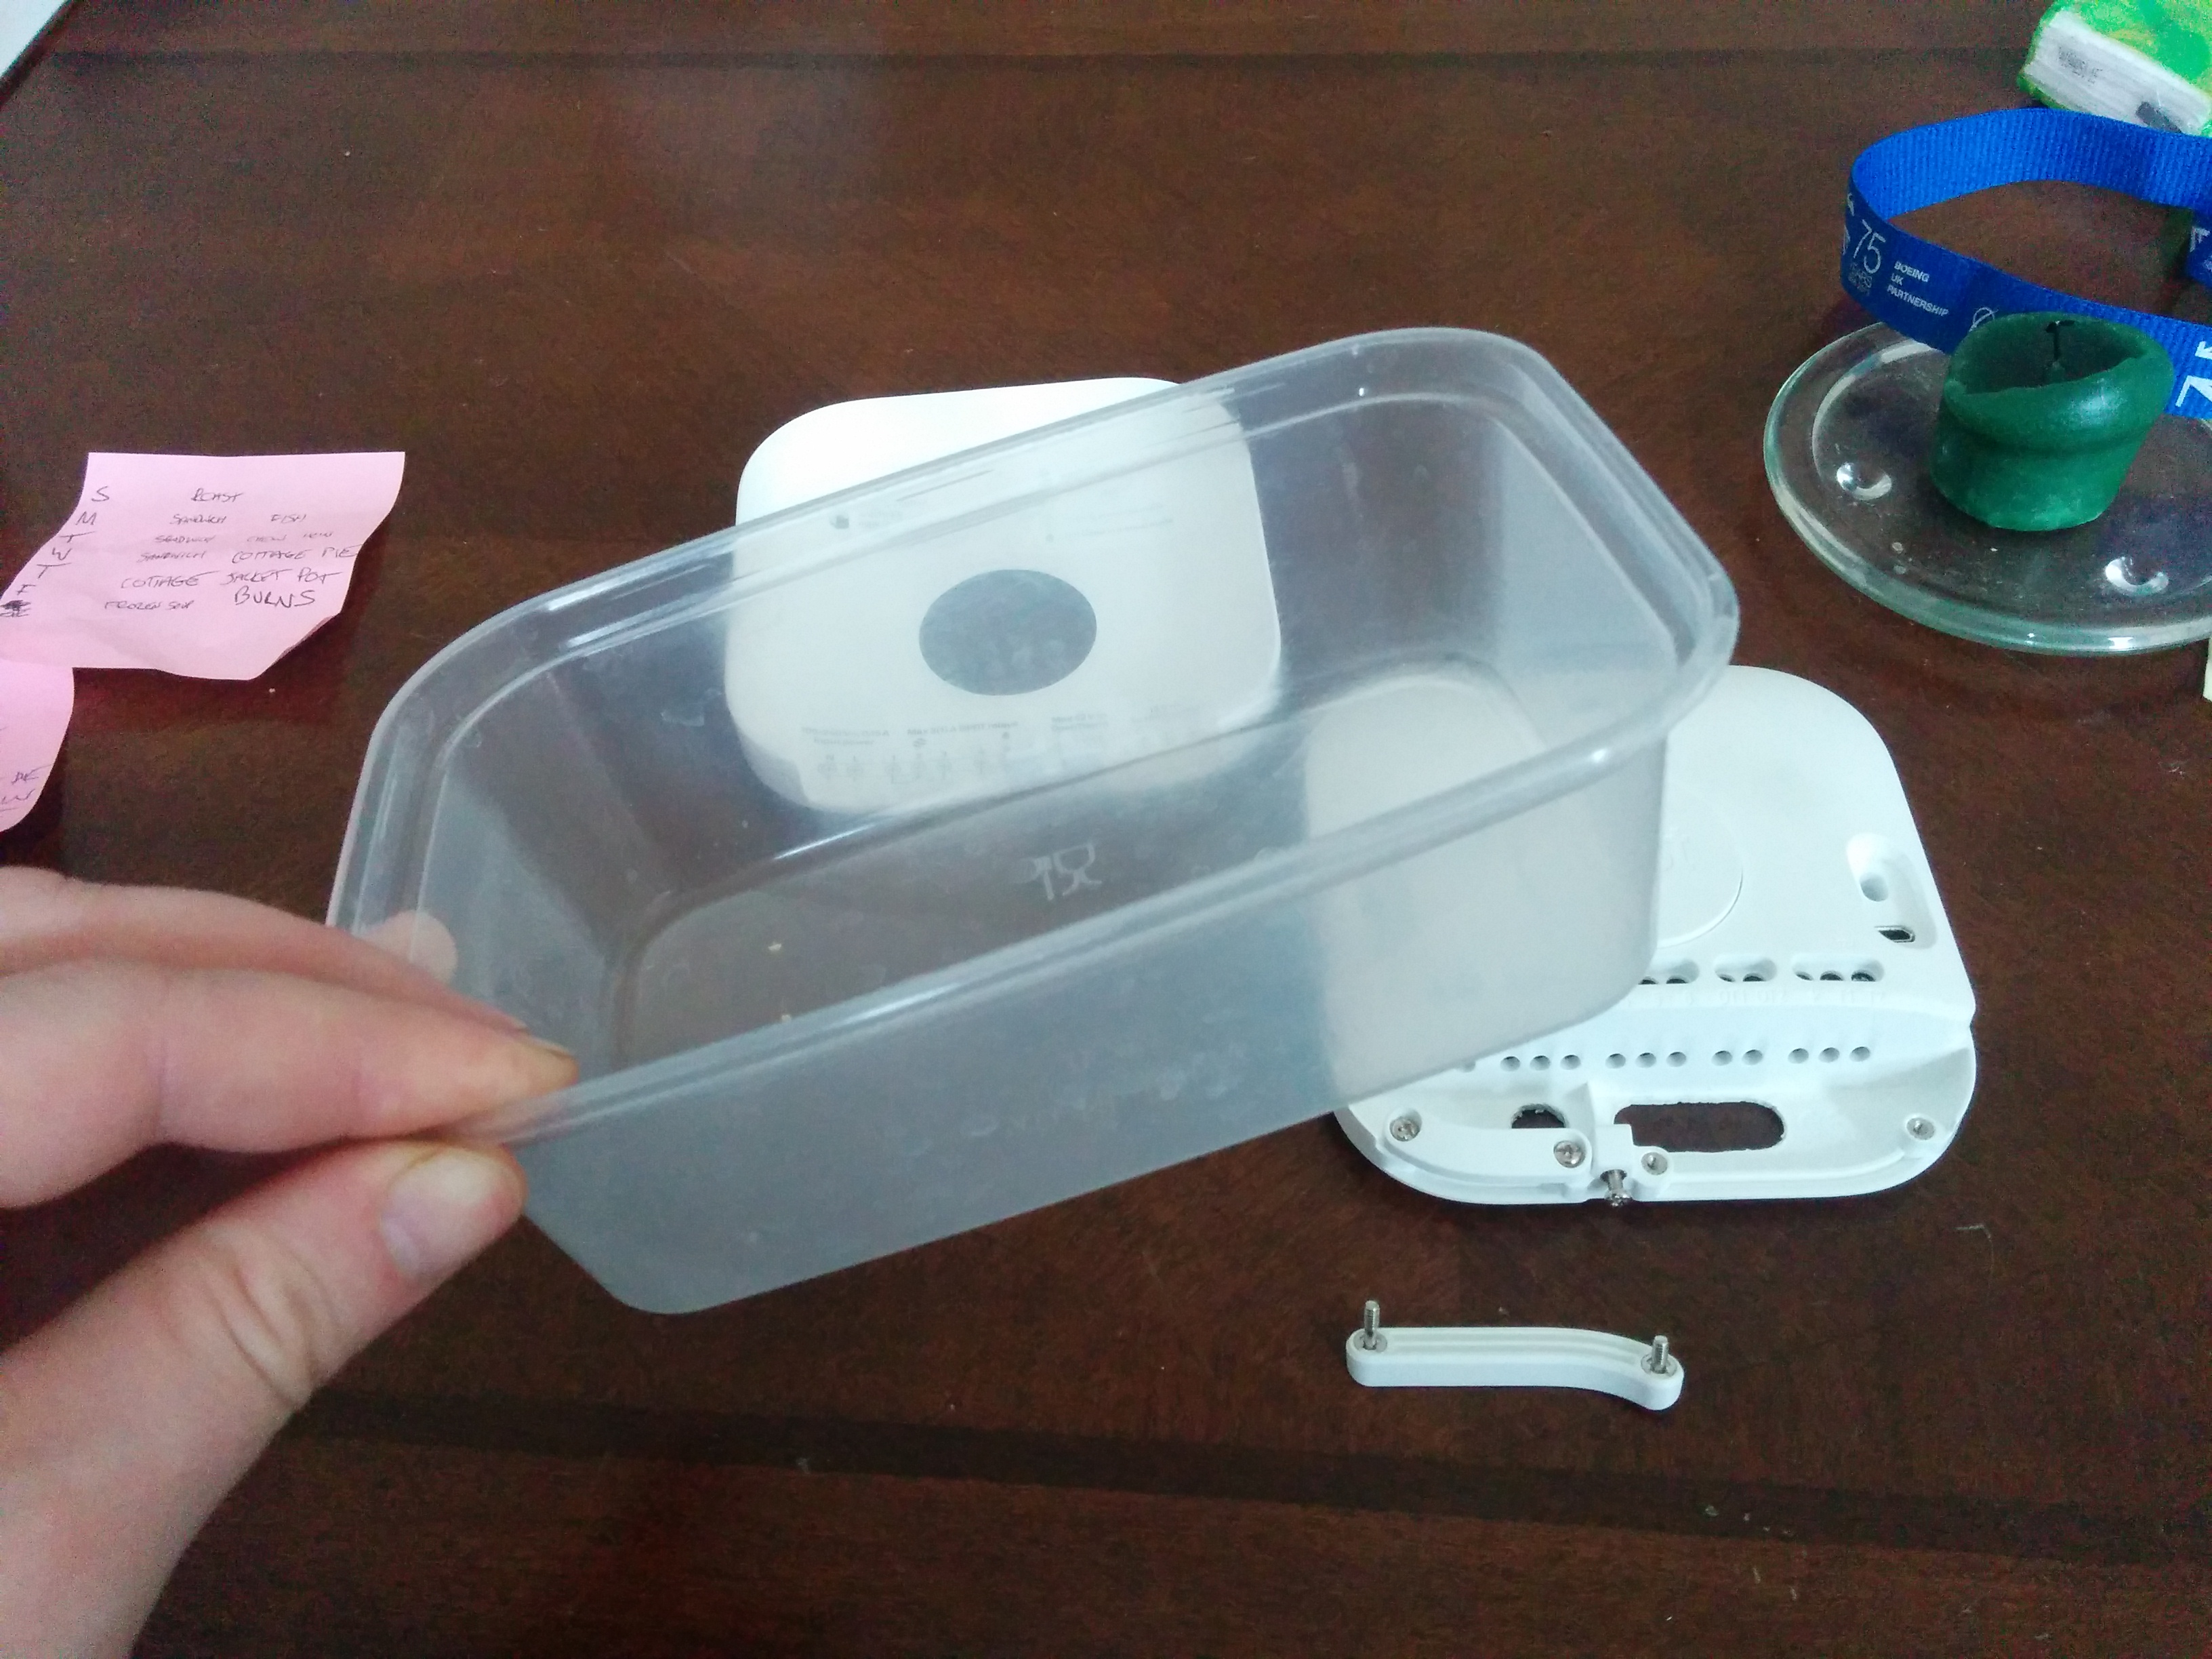
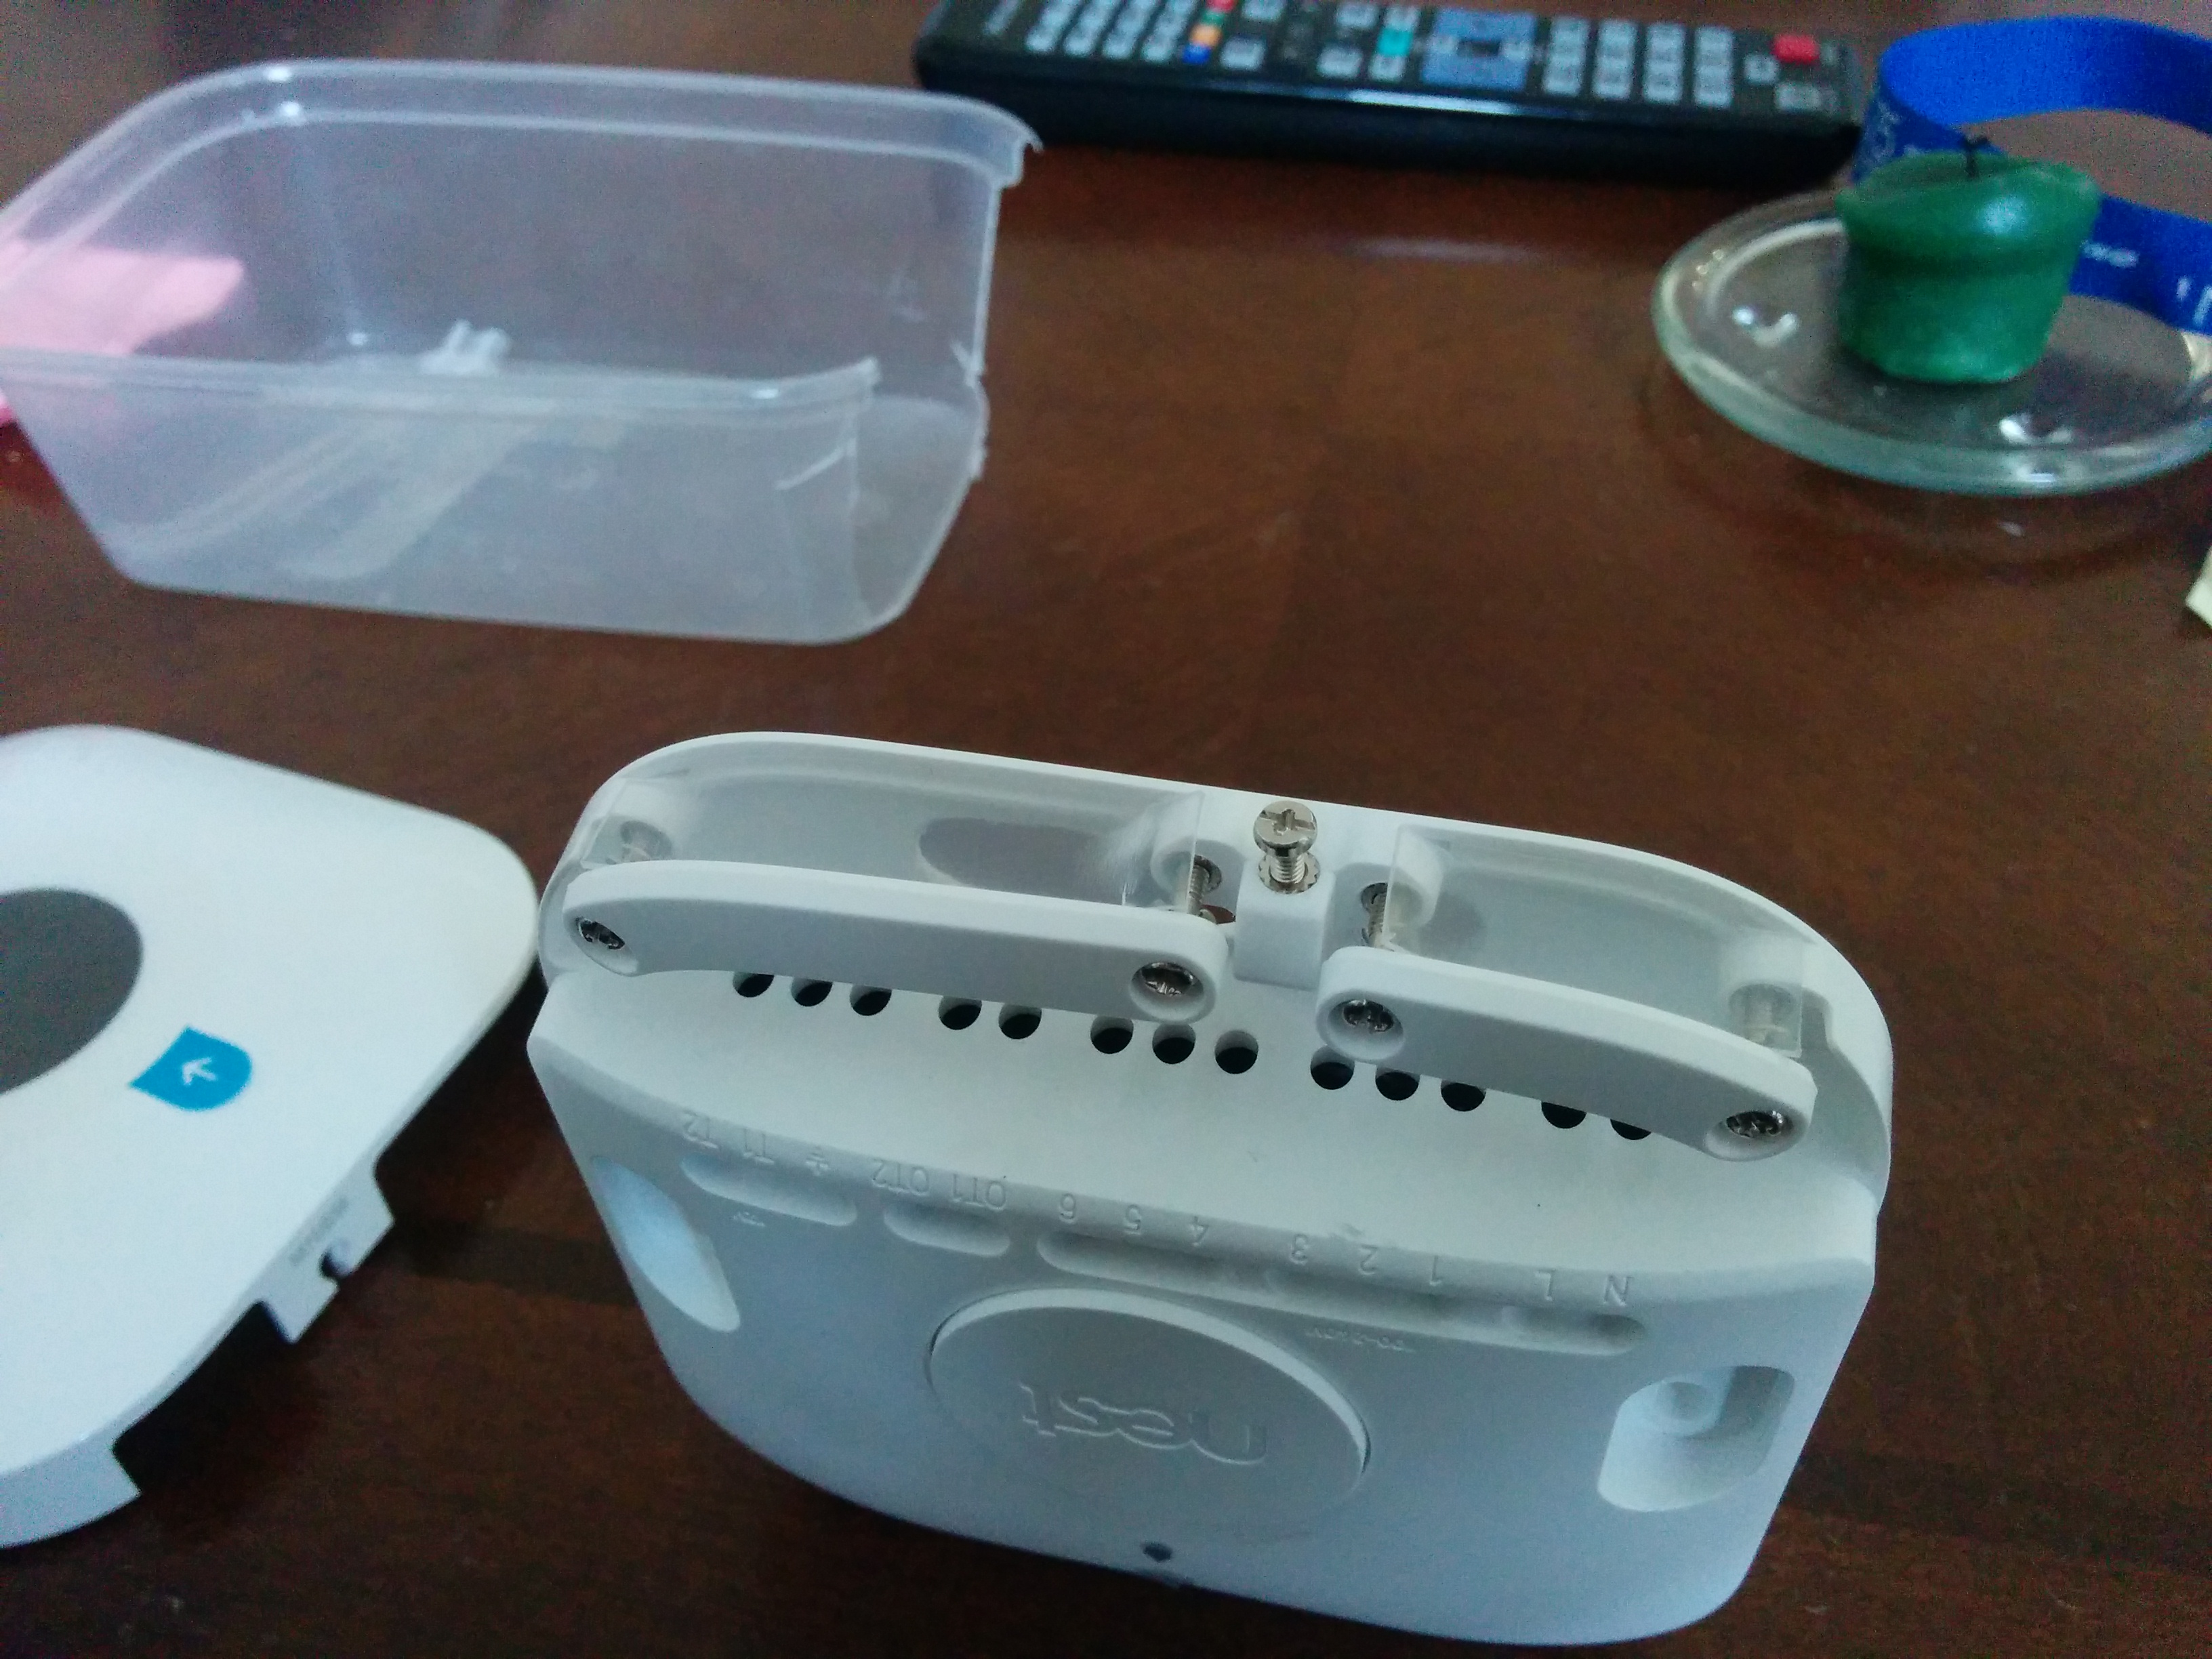
As you can see from the location of my thermostat, its in the kitchen. Actually its only about 200mm from the work surface. With the cables out the back, you can see a large hole at the bottom and my concern was that something (water, liquid, oil, food or anything else) could get into the 240V wires. I did think about designing and 3d printing something to plug the gap, but as mentioned before, my design skills need some work. So I just needed some plastic that I could put between the case and the cable clamp to block the space. Enter Chinese takeaway container! The plastic was actually a good thickness and once I got away fromt he edges of the container it didnt crack when cutting with scissors. So I cut some shapes that will plug the gap. Pretty easy, just fiddly and takes time. Remember not to tighten it too much, just enough to stop the plastic from bending.
Having made the modifications noted above, I wall mounted the nest and begun wiring.
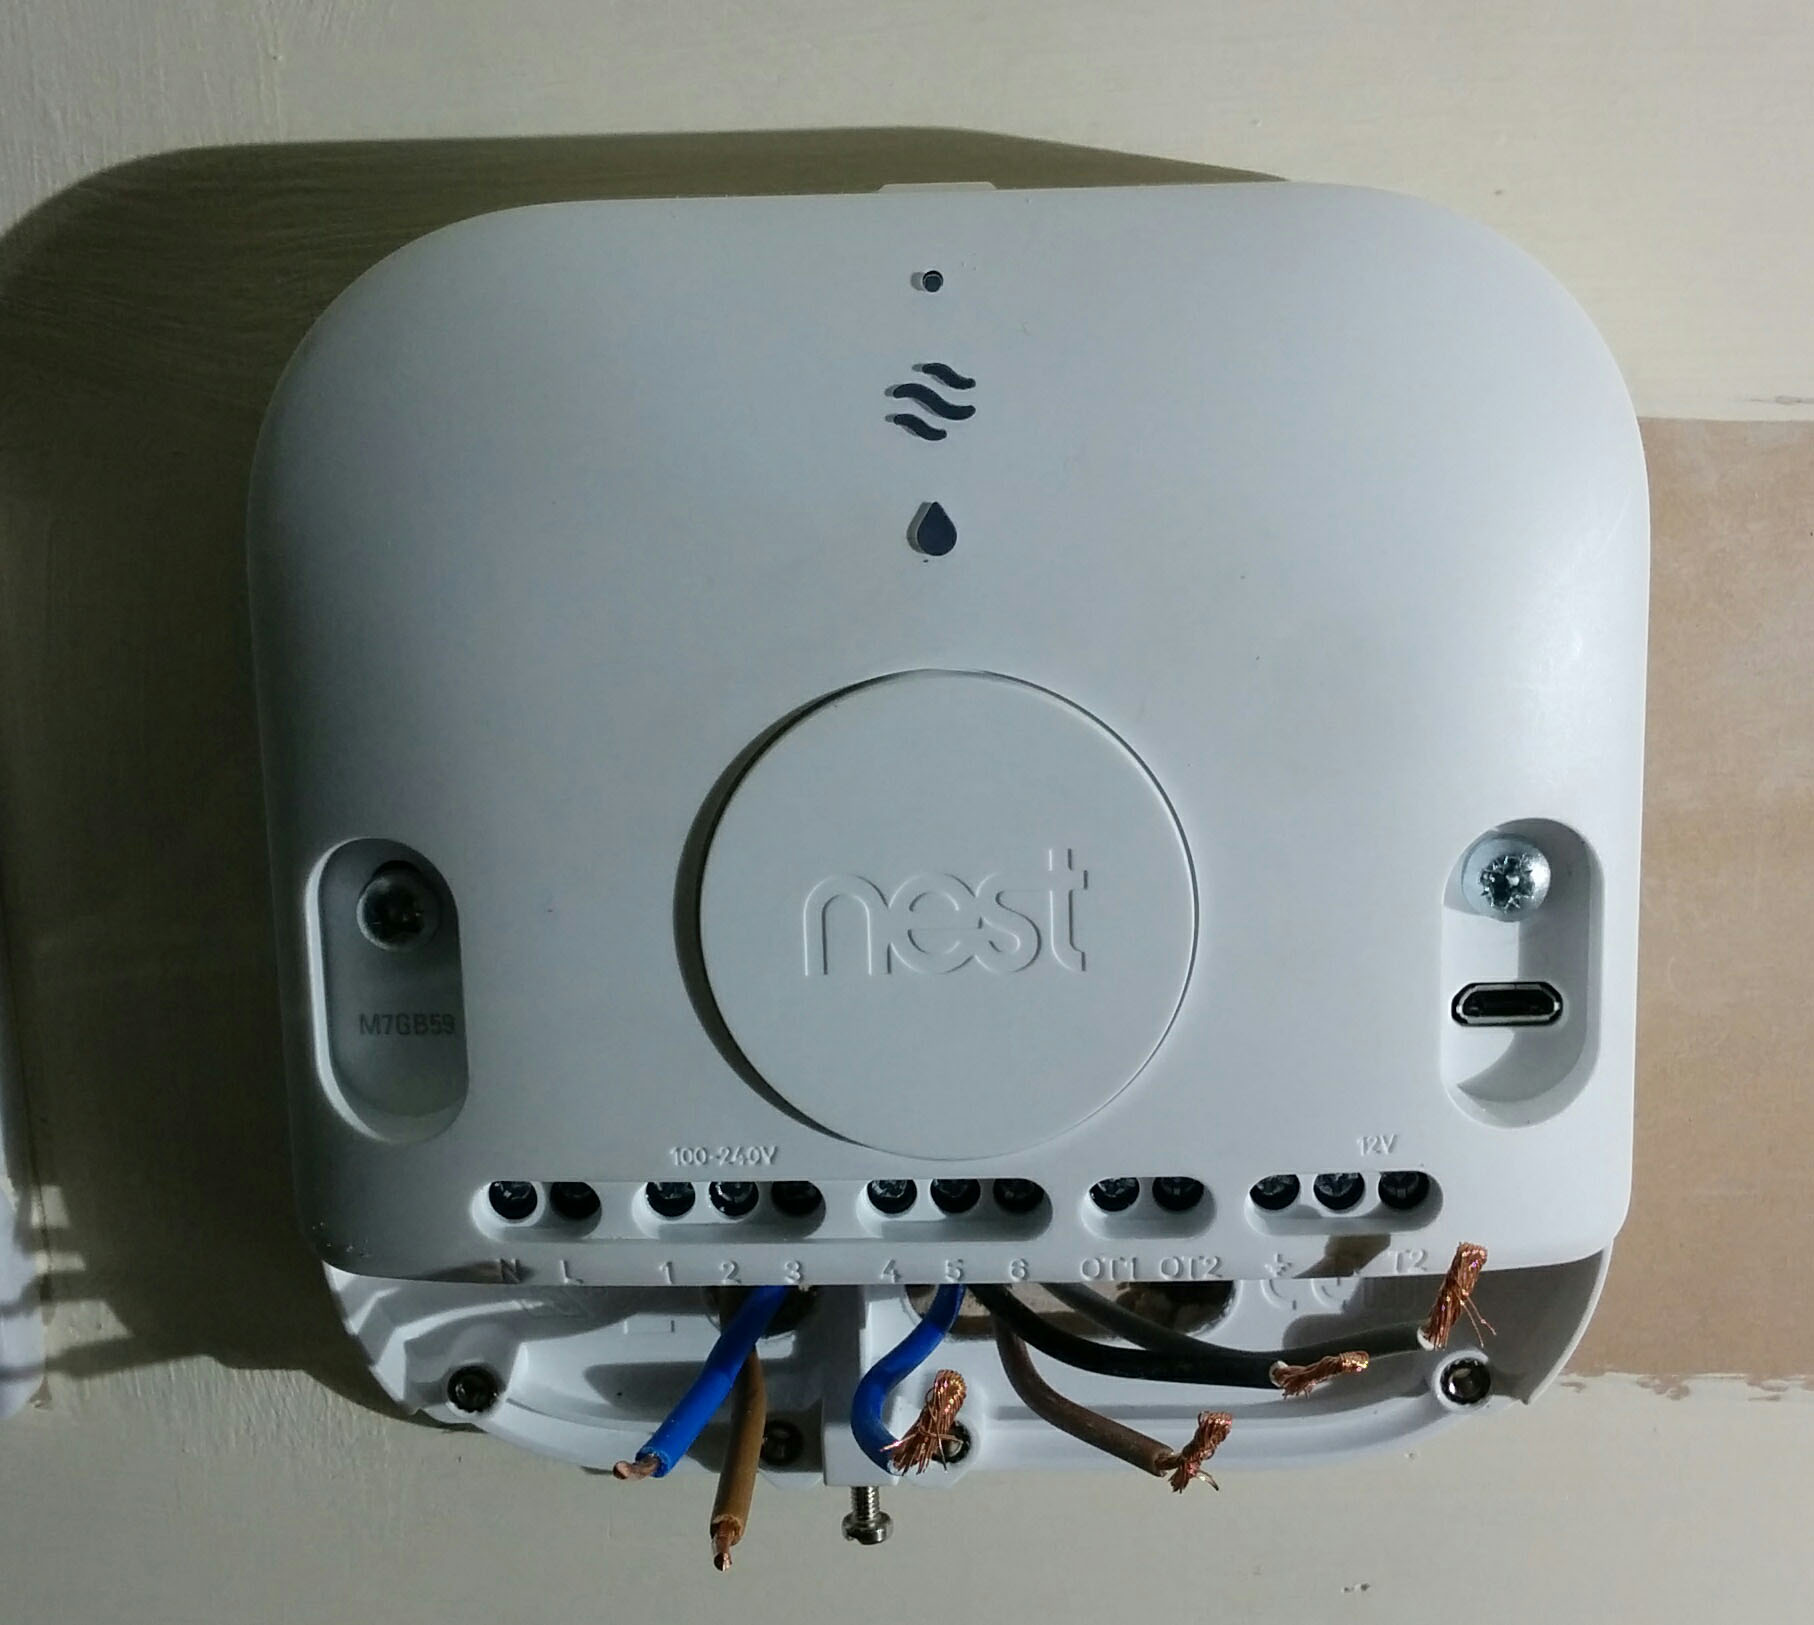
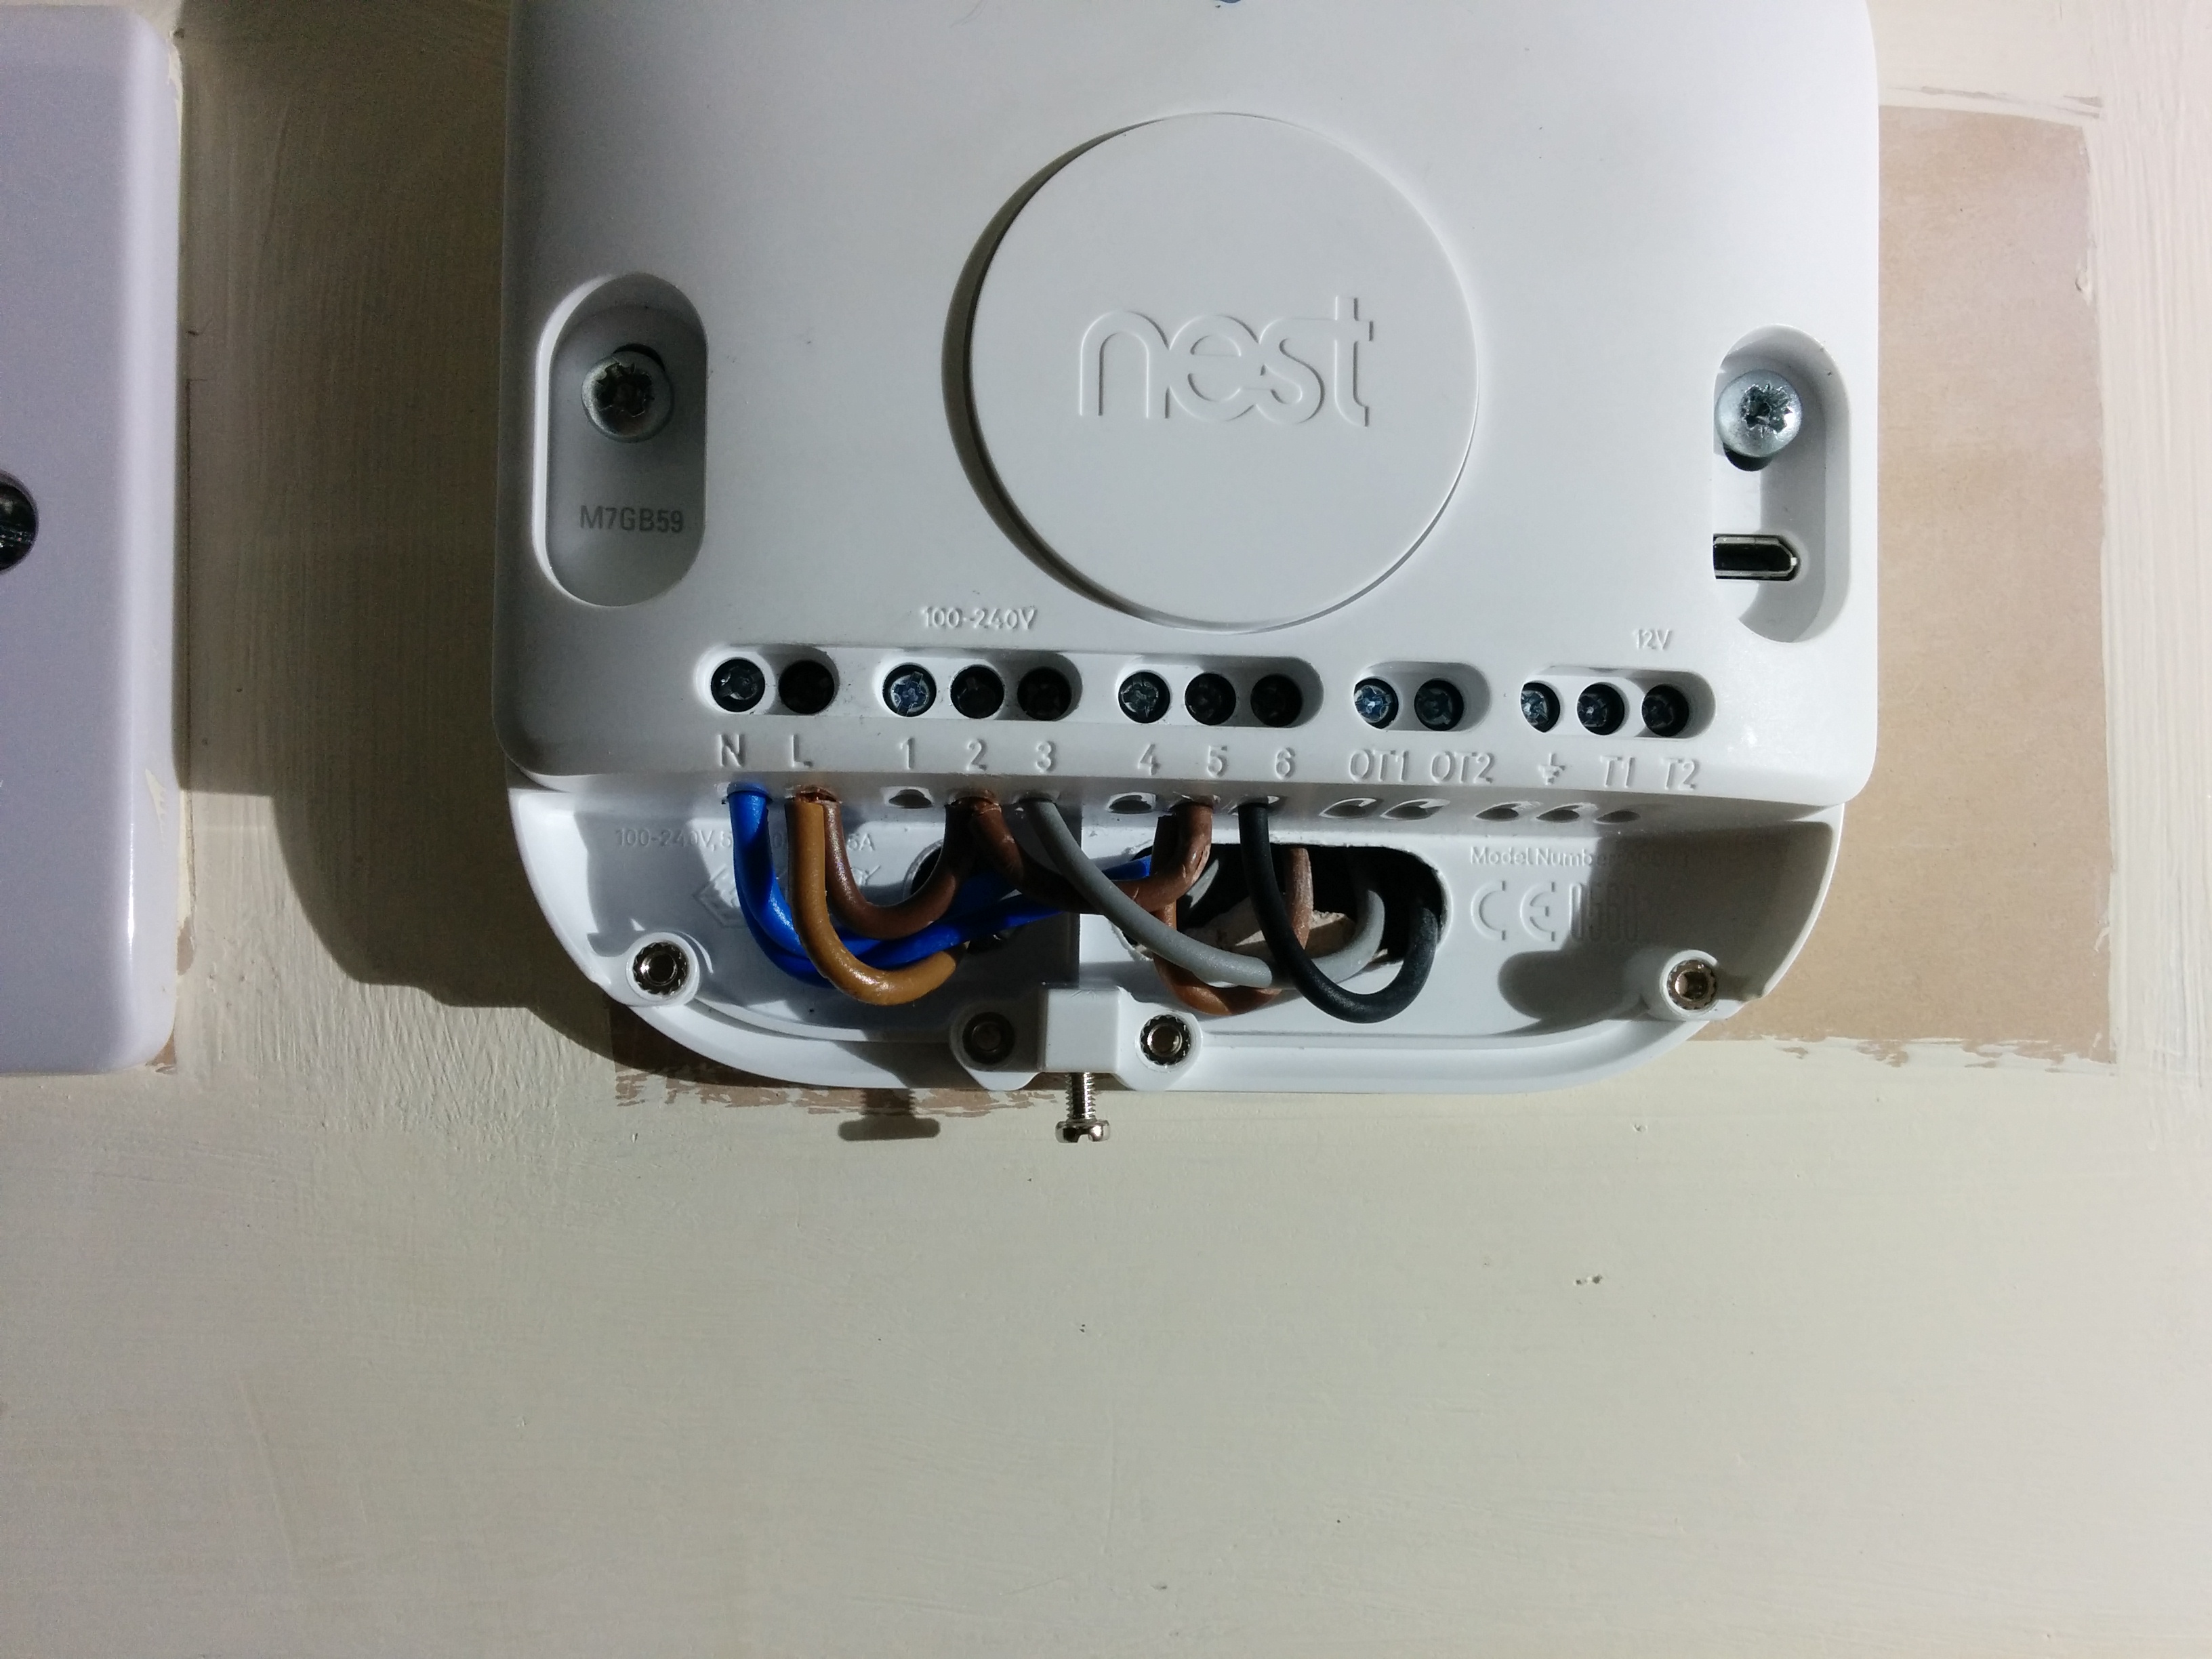

The images are dark and rubbish because for obvious reasons, I had no power. As you can see, apart from the wall needing painting, it went really well.
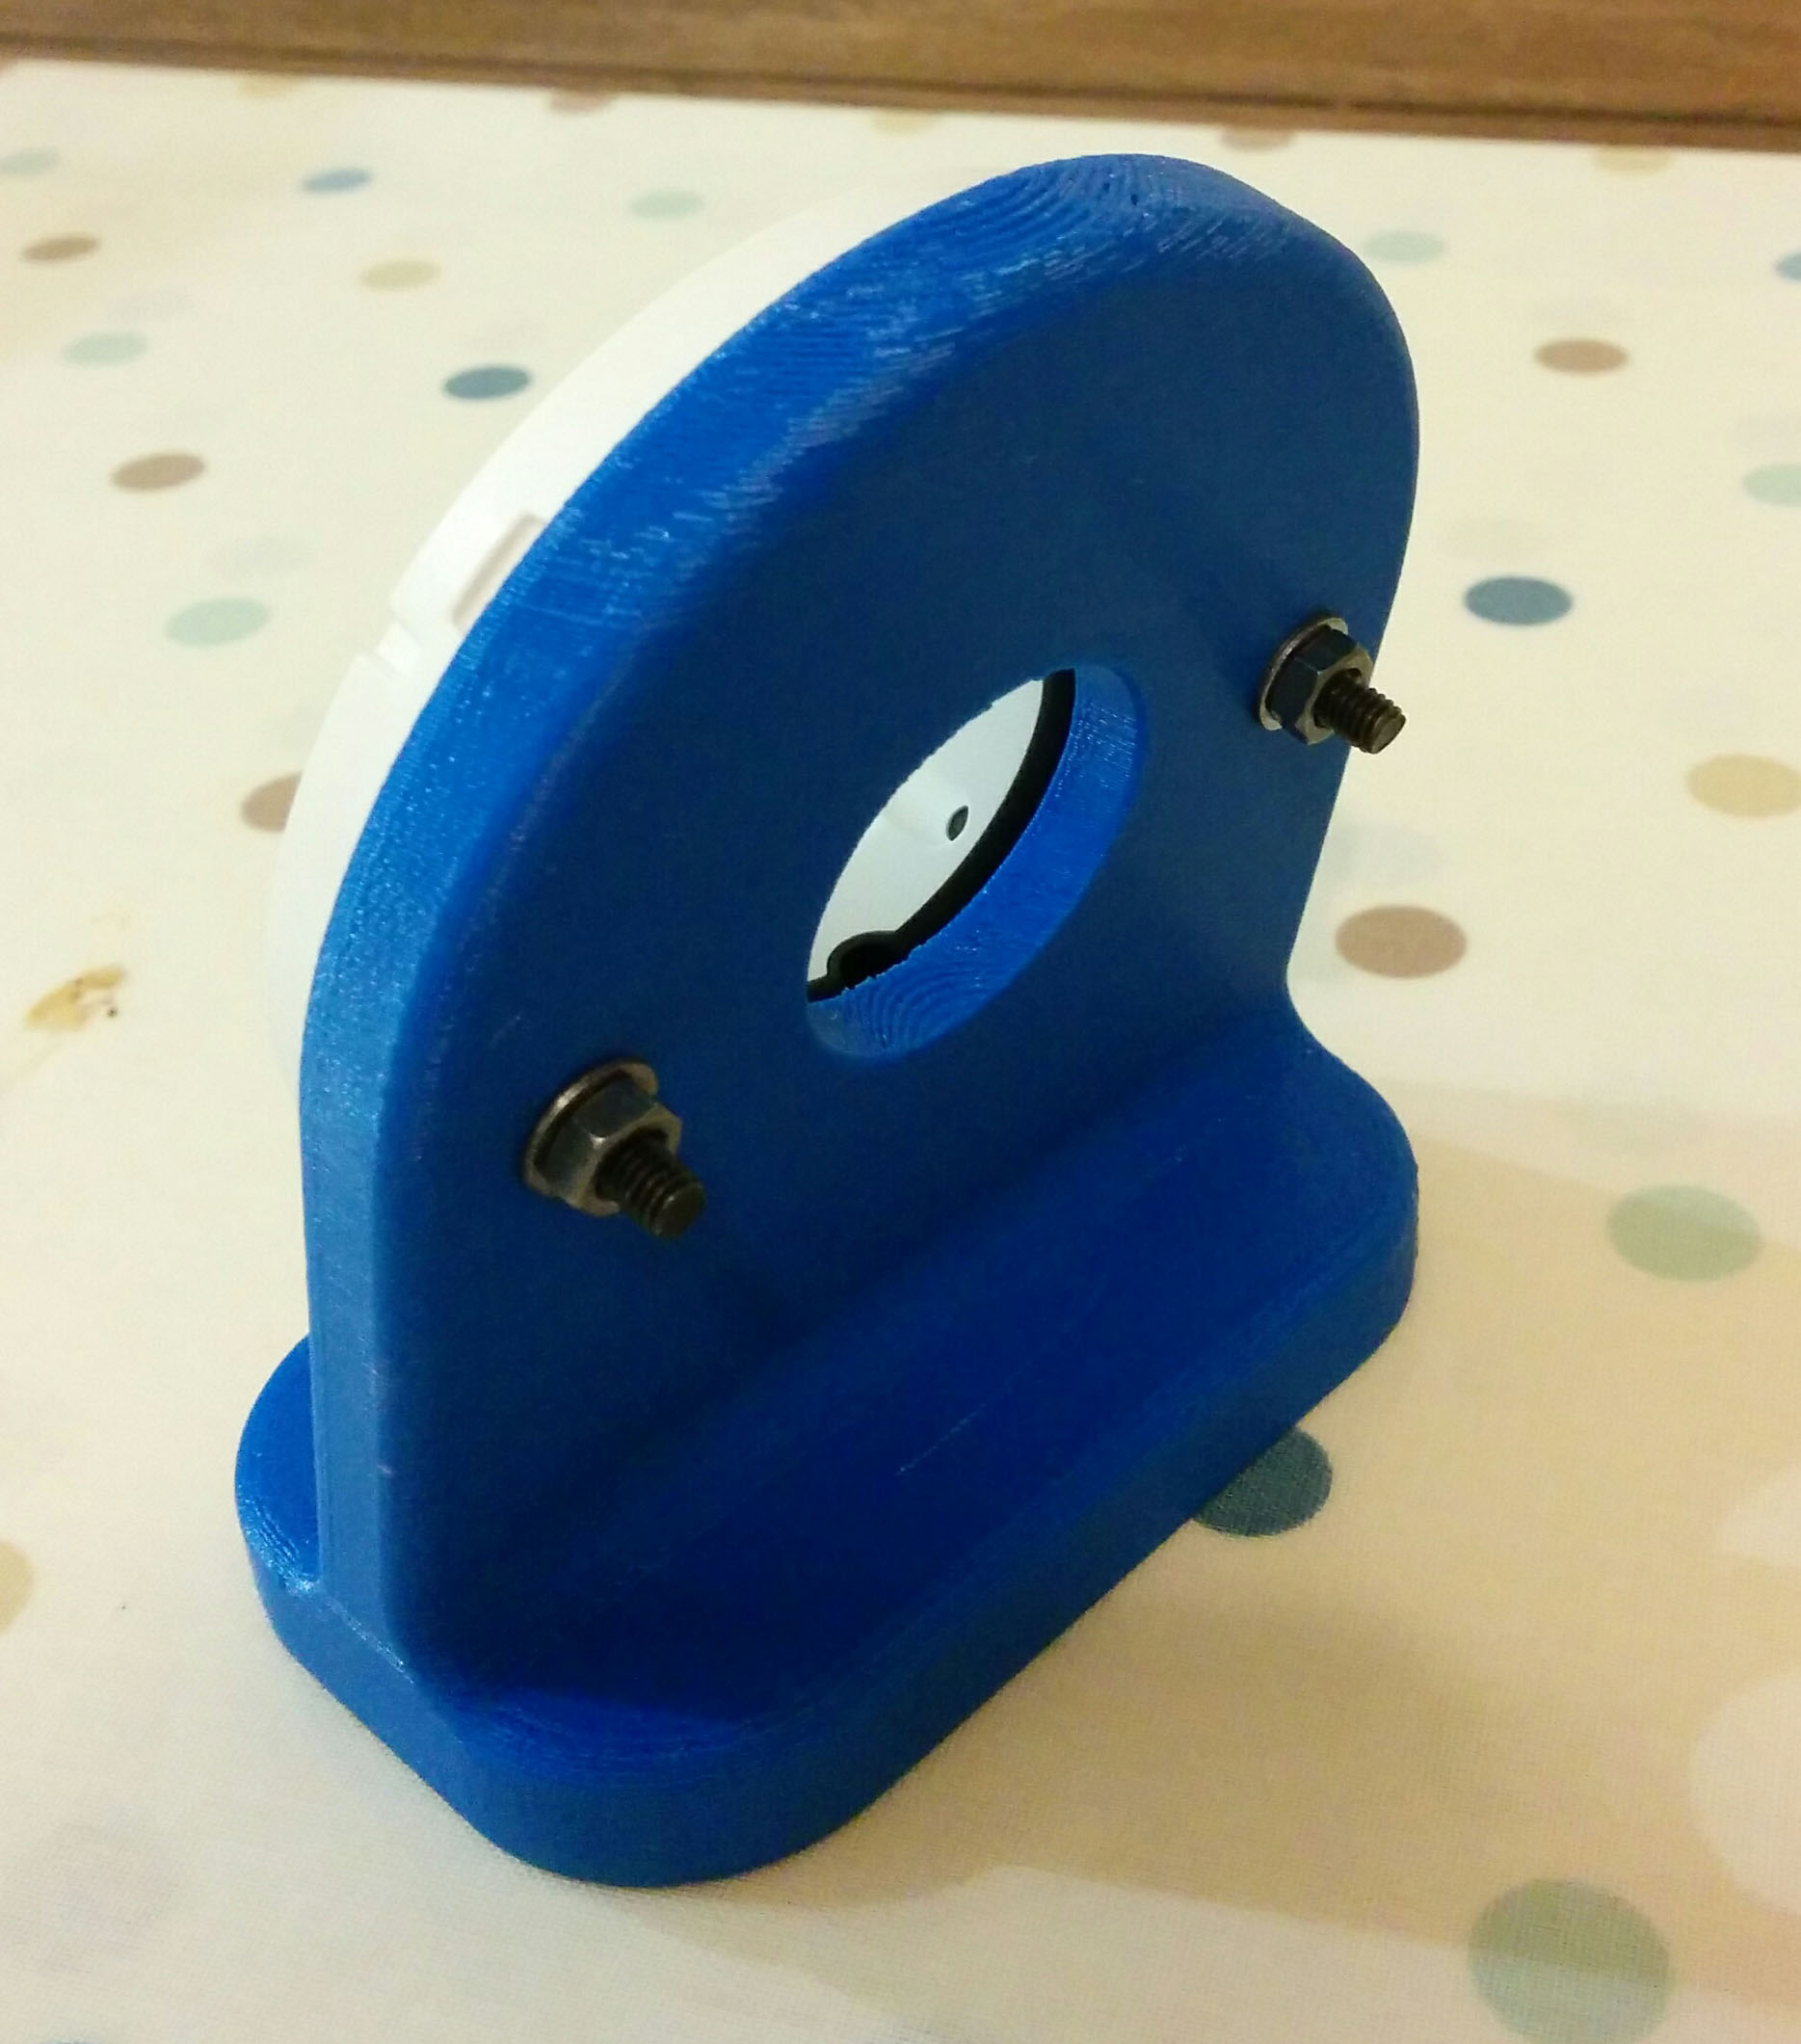
In regards to the actual thermostat we didnt want to wall mount the Nest, so I looked at the stand that they sell. Its about £30 and takes the circular mounting ring.

To me, £30 seems like alot of money considering its a bit of plastic. Luckily I have been working with a 3D printer at work.
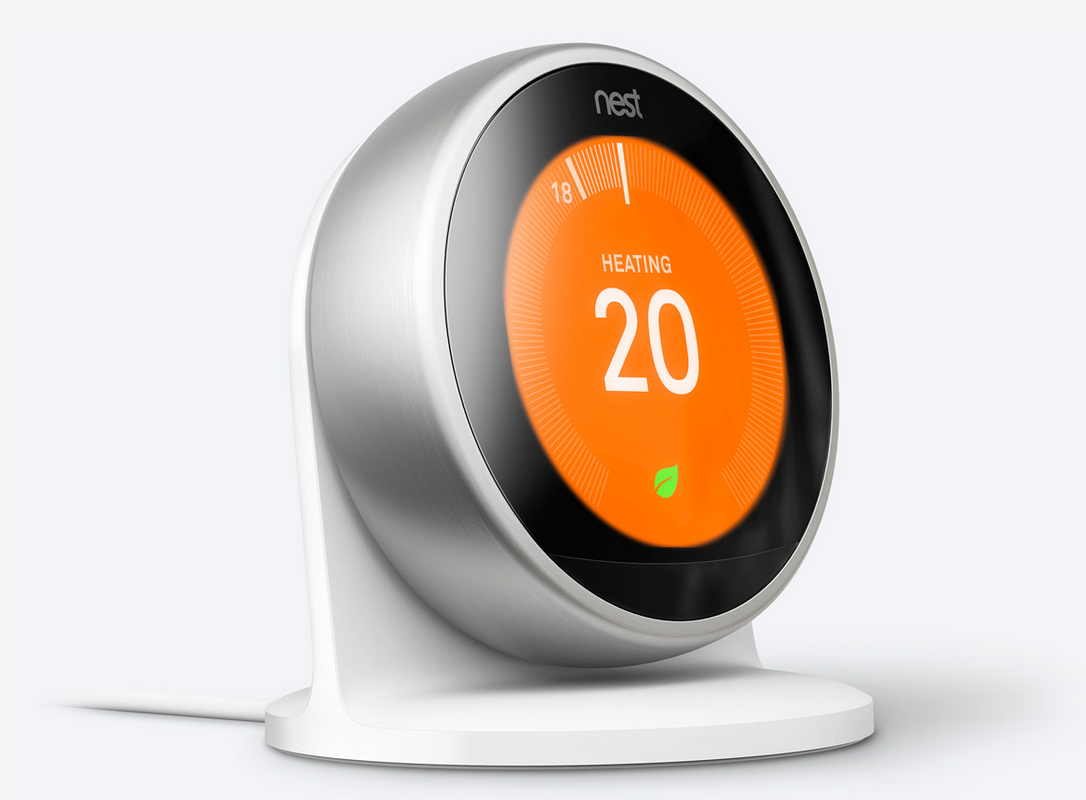
My CAD skills still leave a lot to be desired so I went on Thingverse and downloaded the model Nest (v3) thermostat stand by jrd3n. Turns out its exactly what I was looking for! I snook it onto an overnight build I was doing at work and the next day I had a stand. This is how it turned out, I did have an issue with being impatient hence where it sits got damaged, but its not seen so I wasn’t bothered.
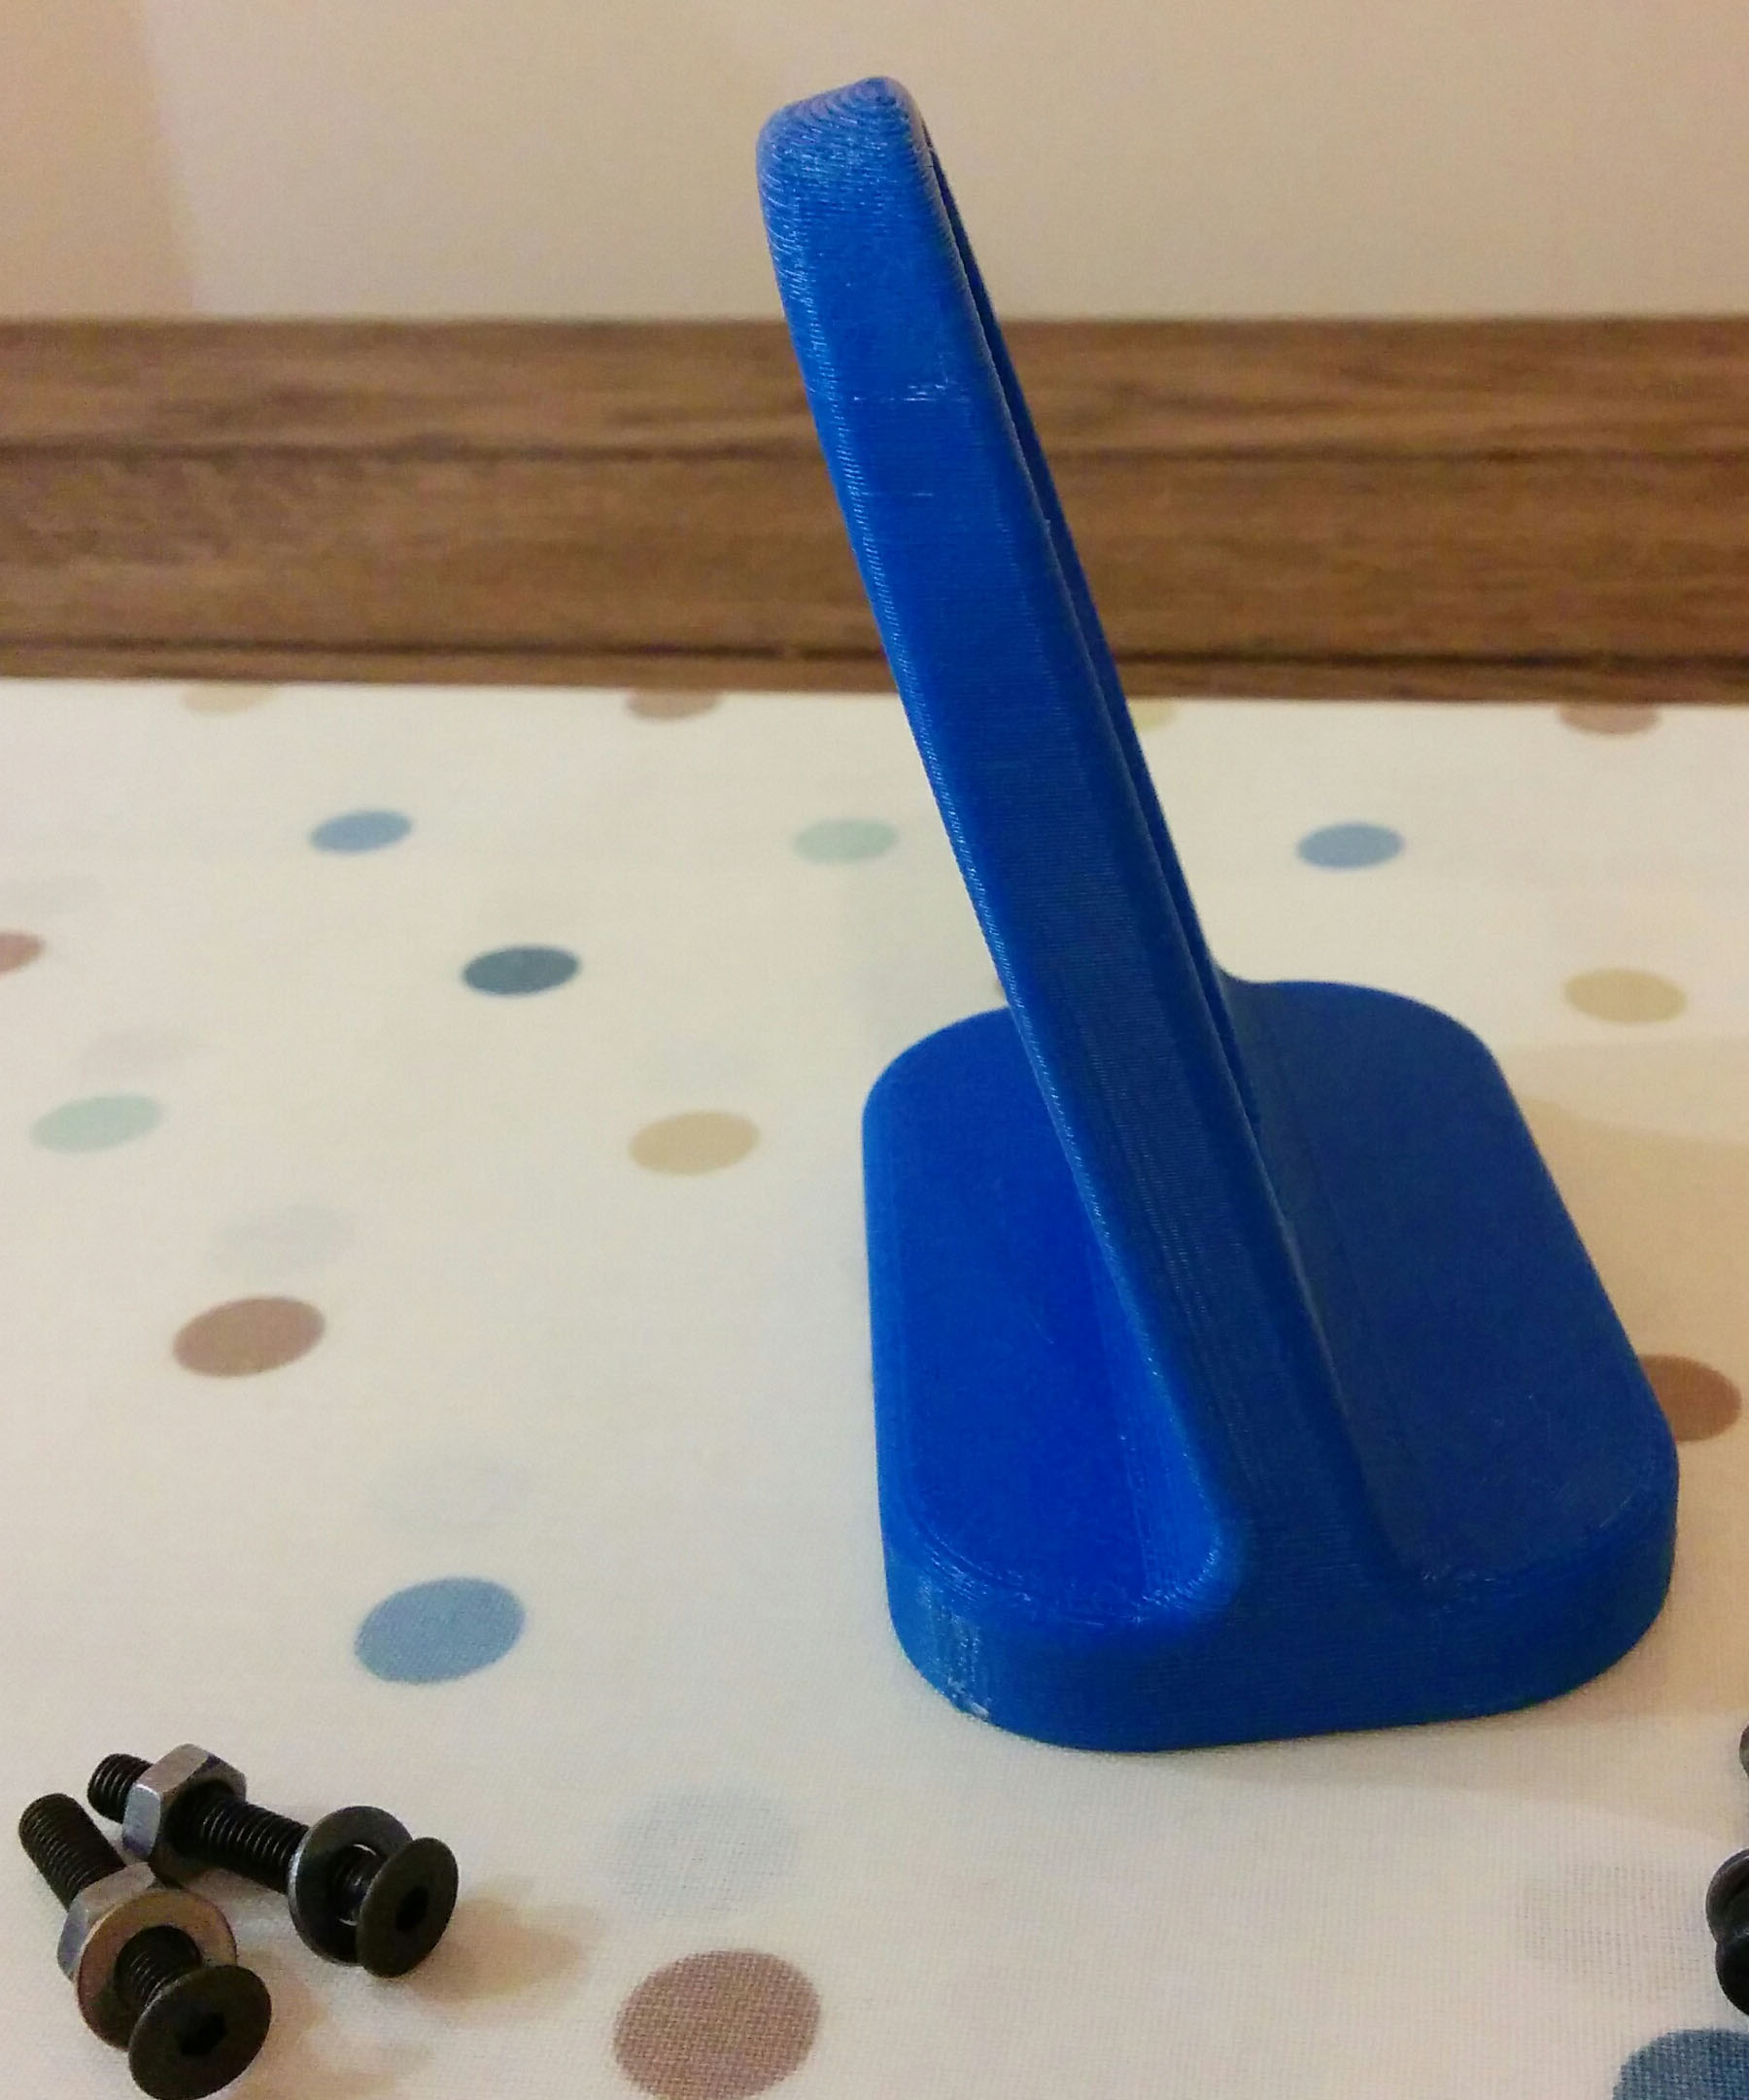
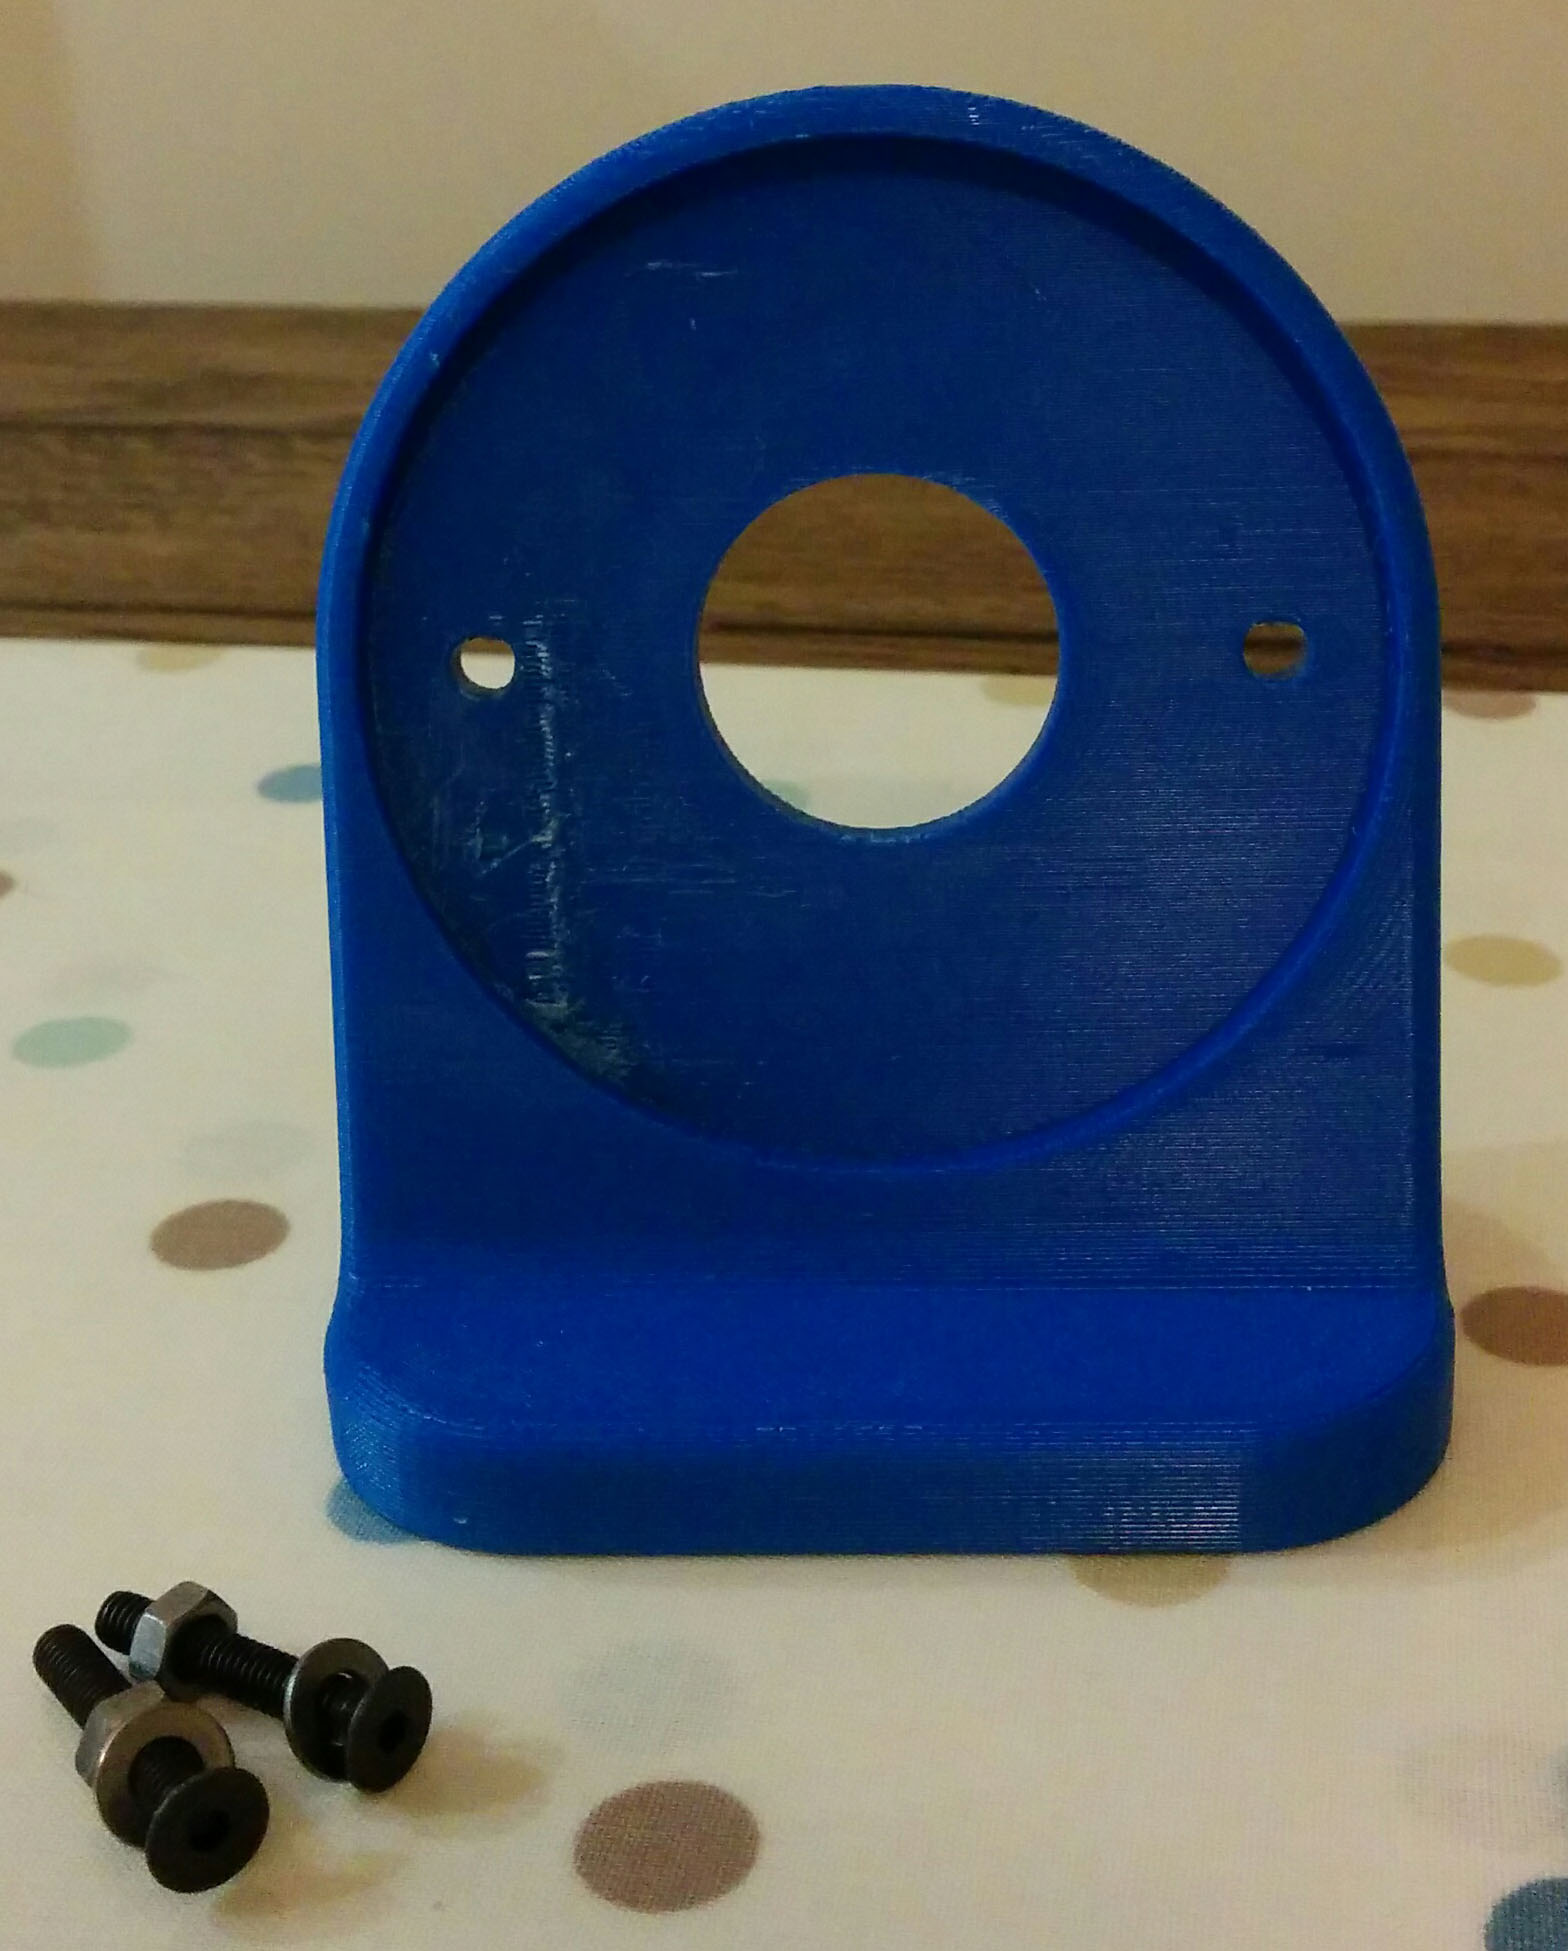

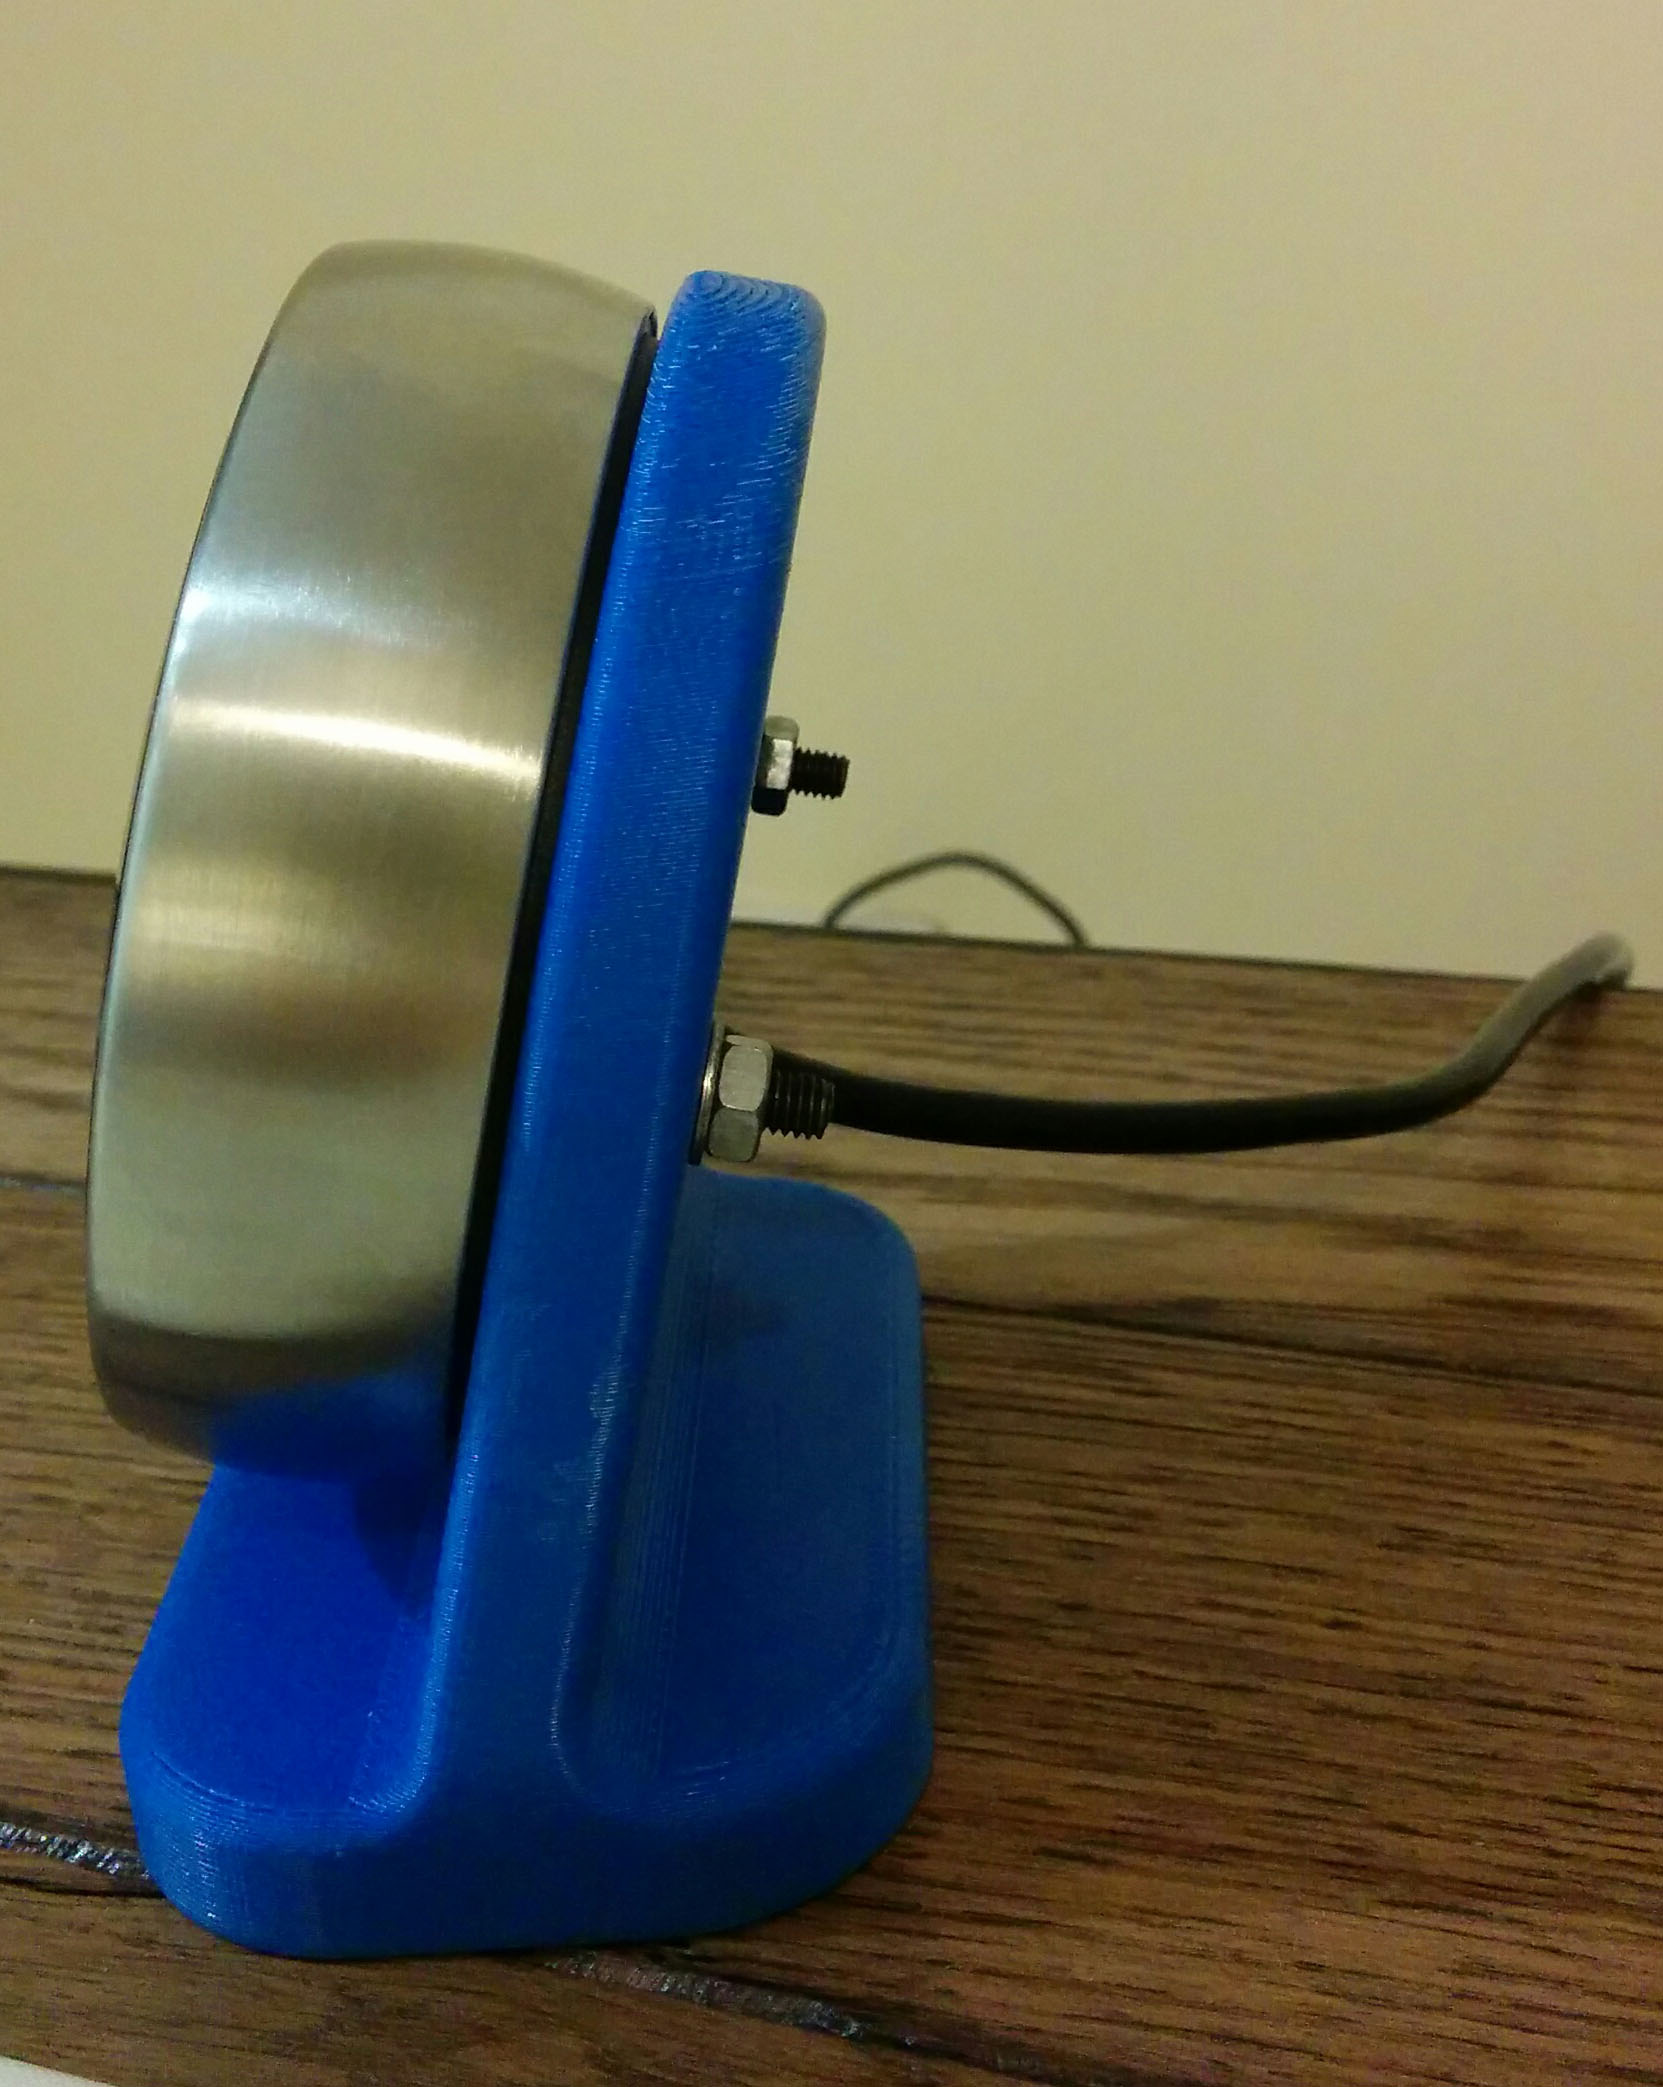
Its worth mentioning that if you have access to a 3D printer then this is a really cheap option, but if you dont, find someone that does or buy the google stand.
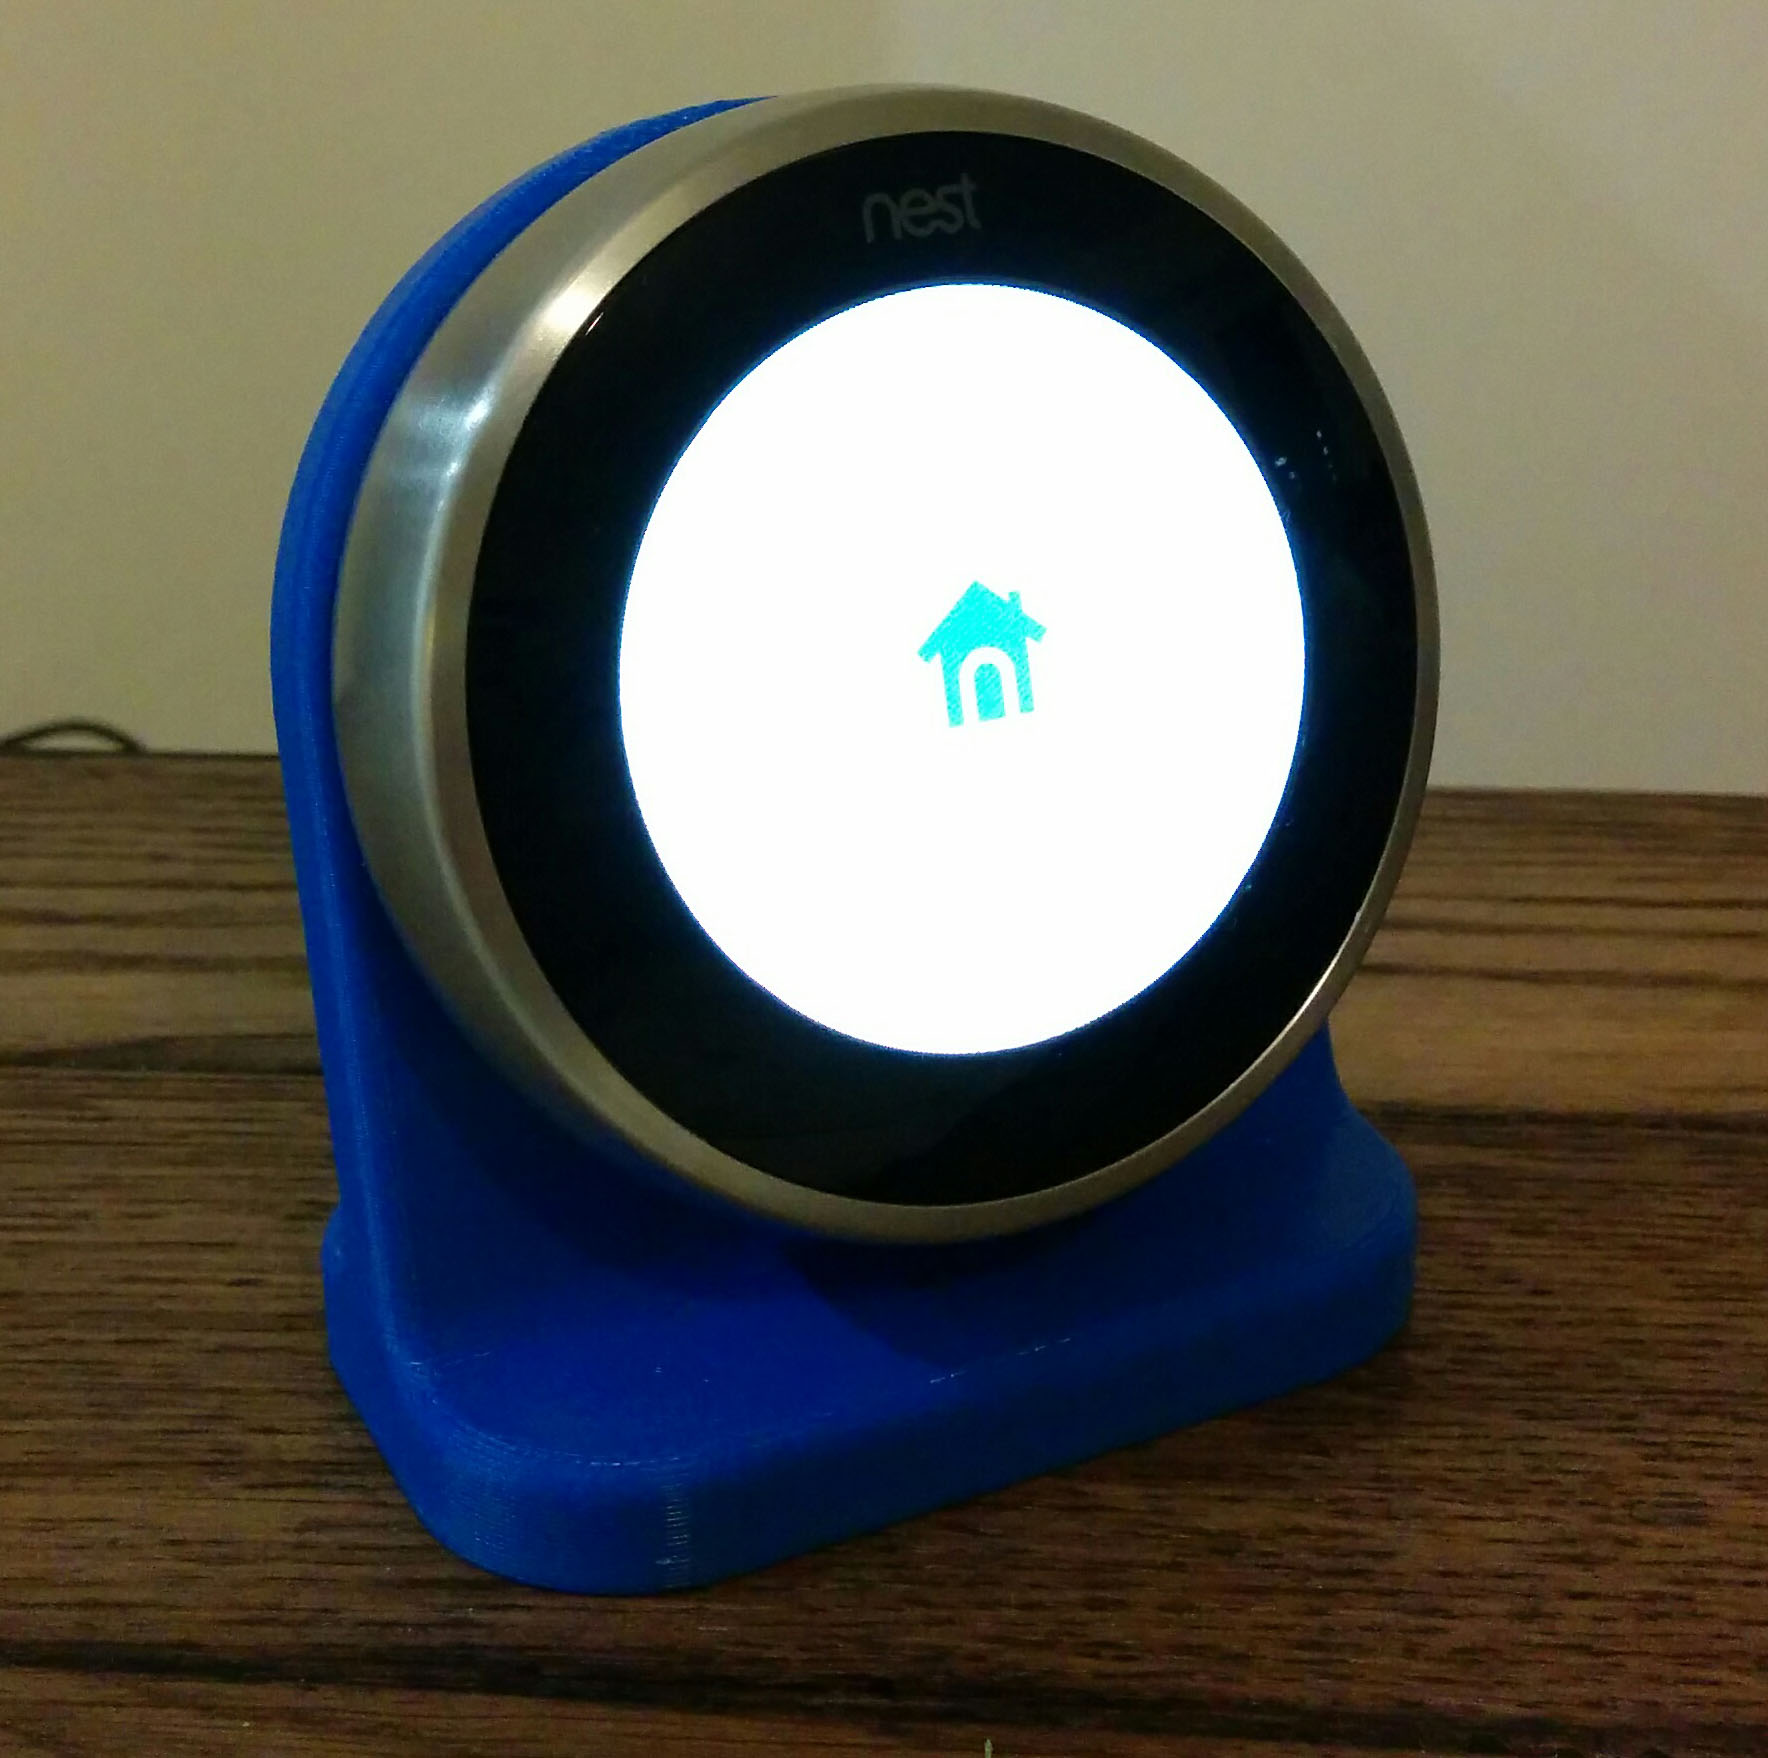
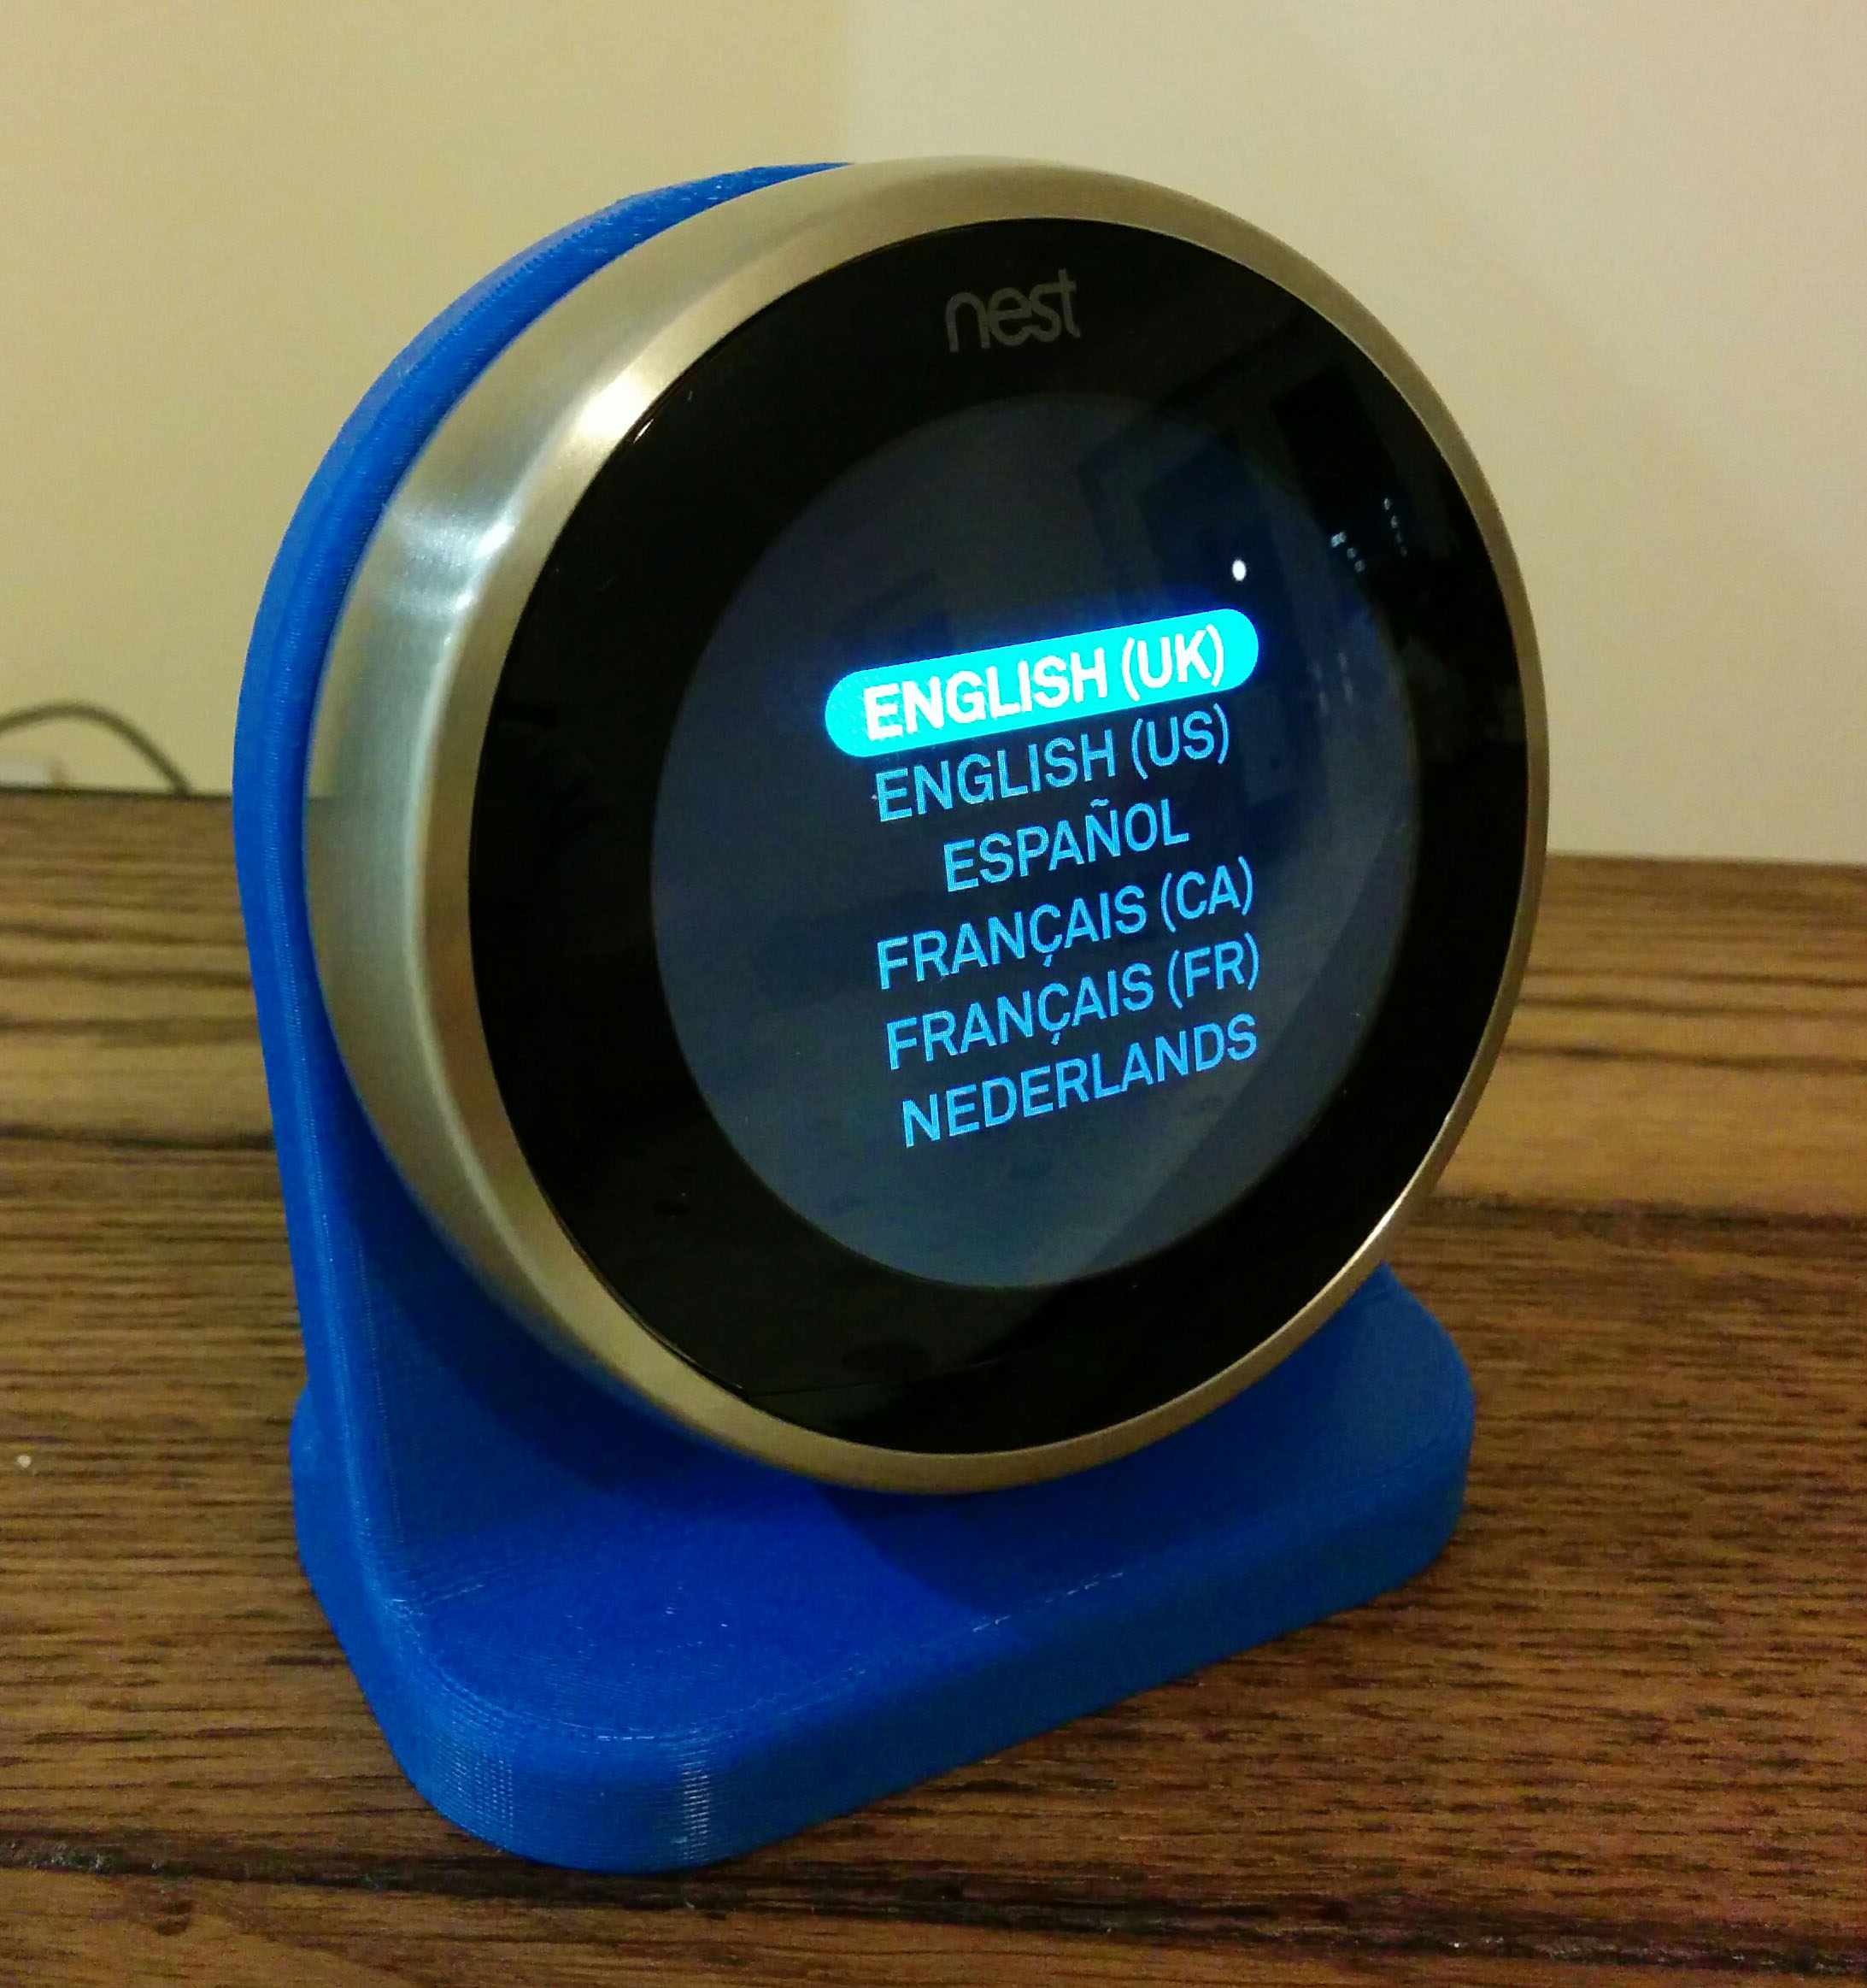
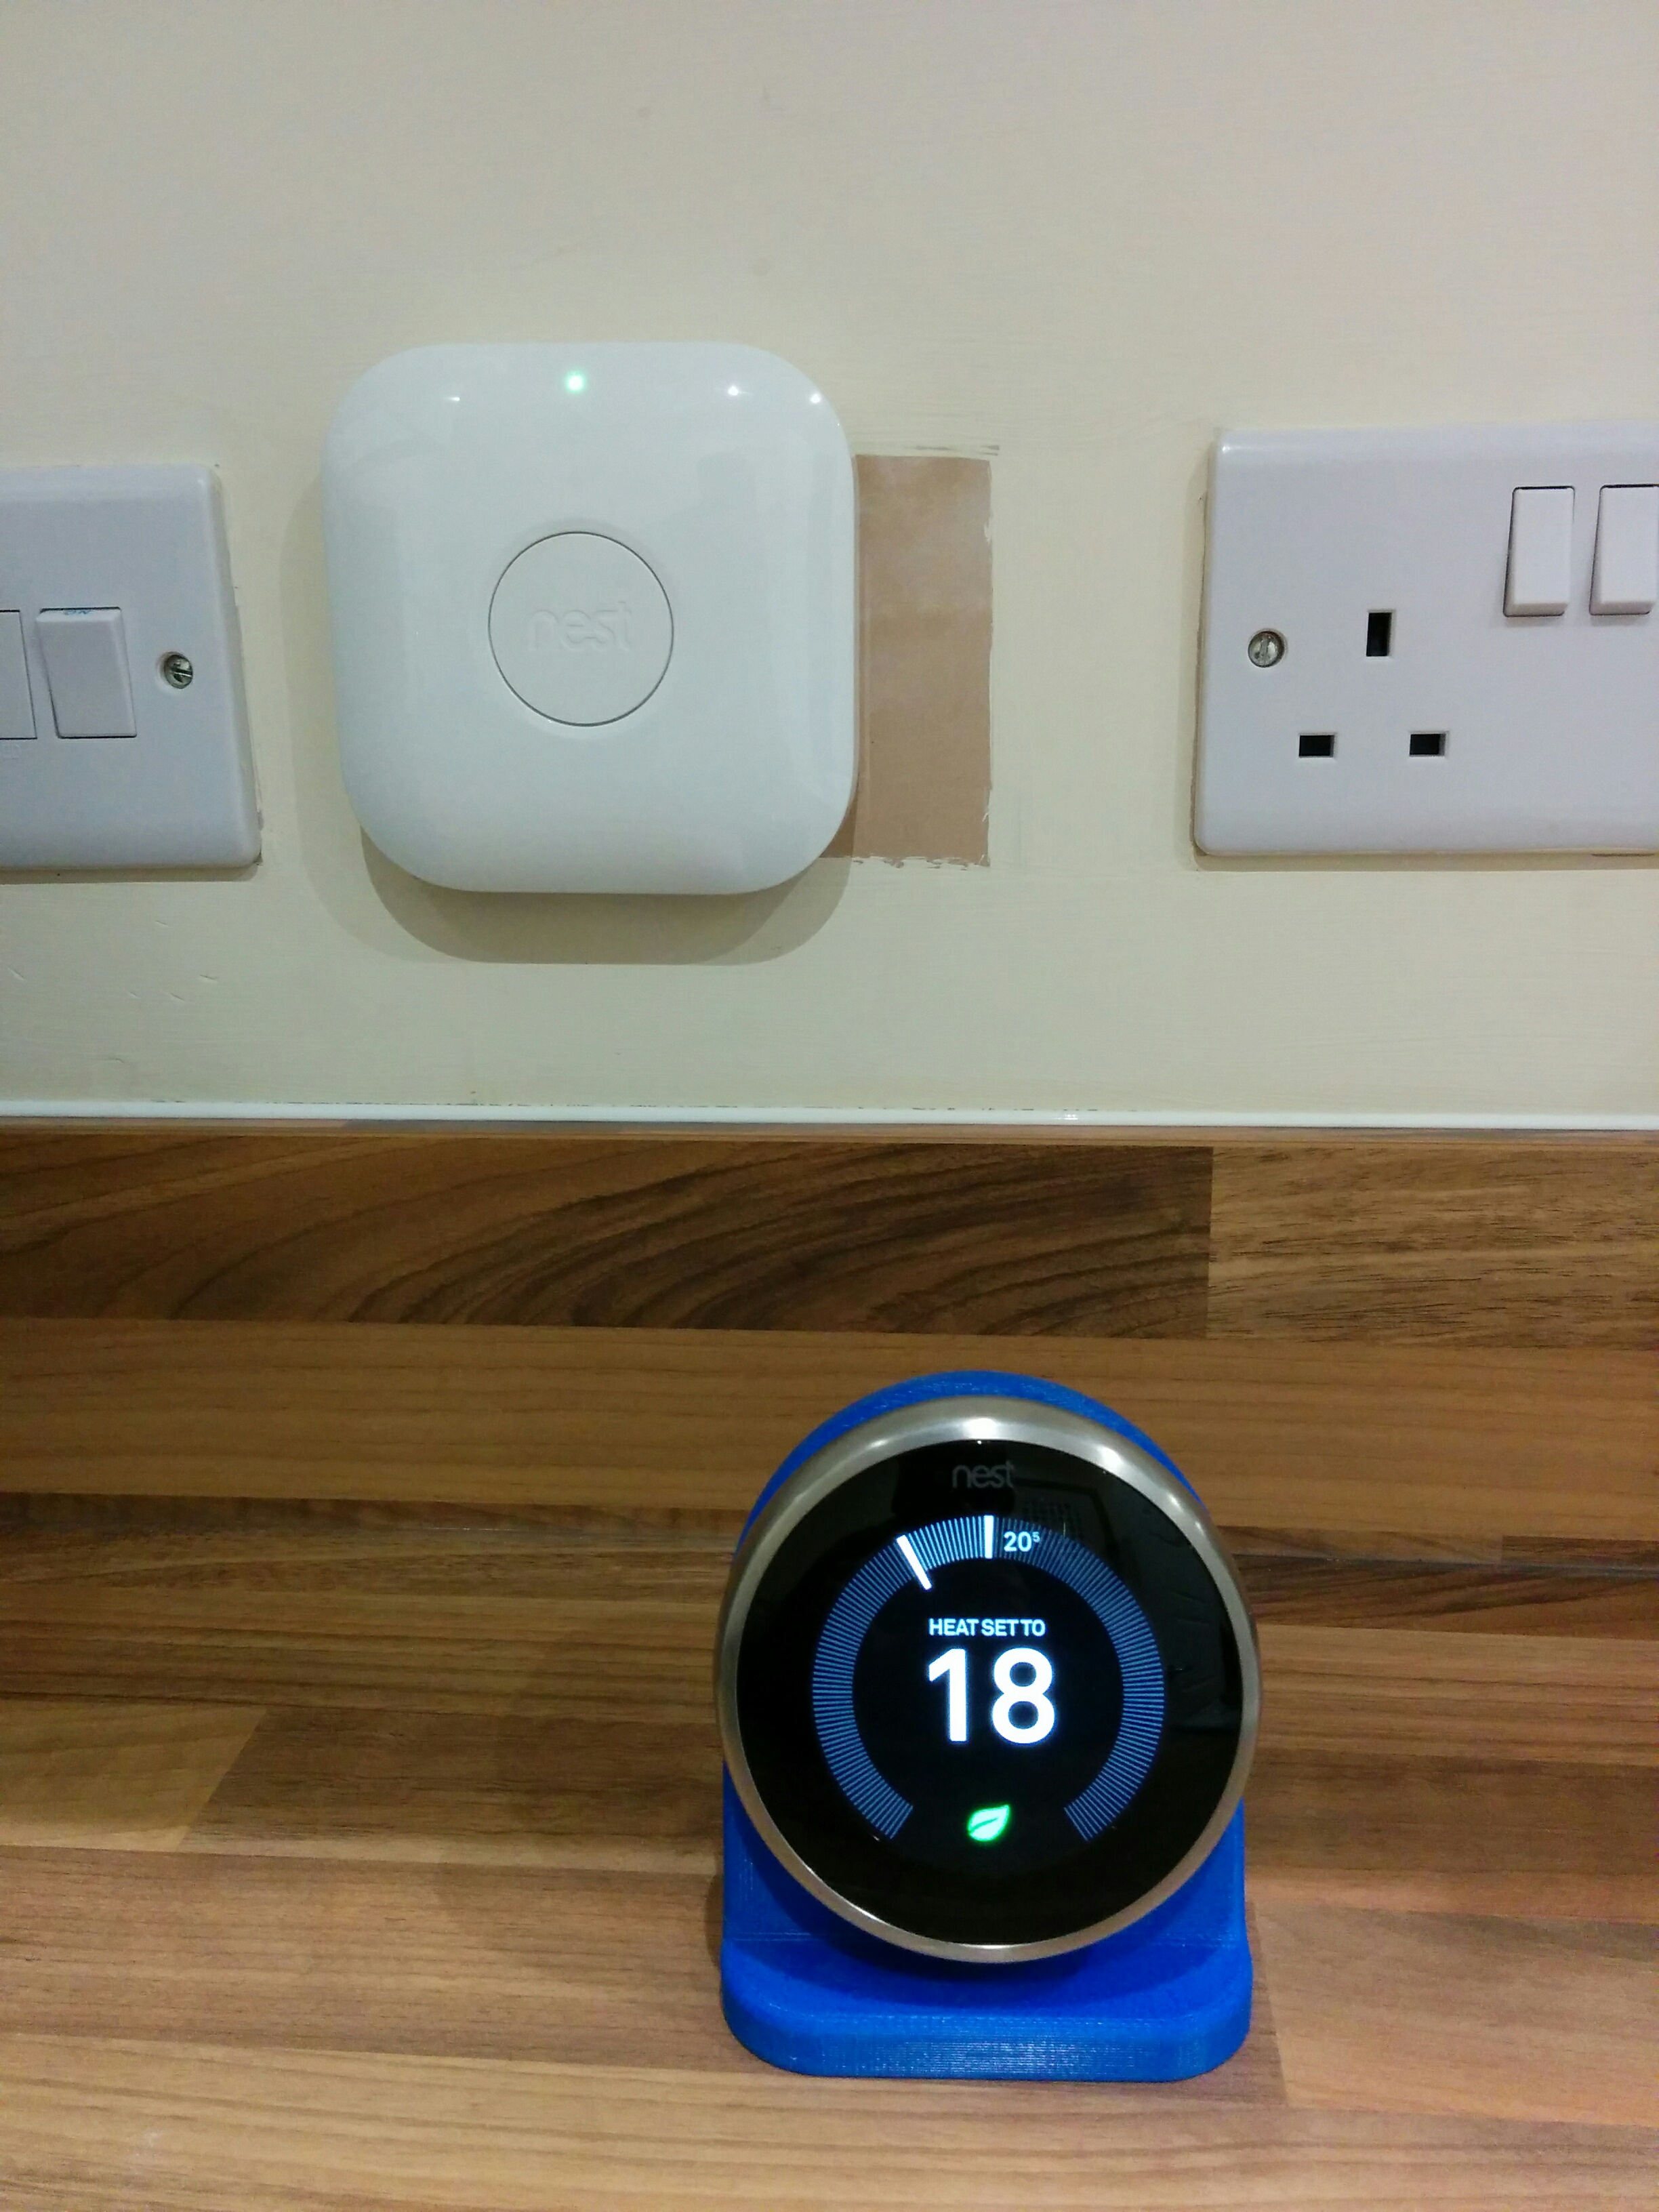
Once I had the stand and installed the Heat Link, I was all ready to go. Final picture below 🙂
Disclaimer
I accept no liability for injury, death, accident or any consequential, incidental or commercial loss, however caused, resulting from the publication of material on this website. All electrical work, projects, diy jobs or work of a similar nature is carried out at the risk of the individual.